Walther’s Carfloat cont’d
Upgrading Rail
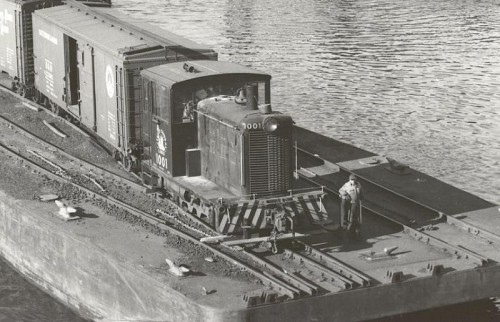
The rail included with the Walther’s Carfloat kit is pretty crappy. Its plastic and is supplied in short 6″ lengths. I guess since technically no locomotive runs on a carfloat this isn’t an issue, although they did move the loco’s used at the Bronx on and off the property on carfloats, so much for that therory…
It was a no brainer that I would replace this with some real rail, although I won’t be powering it and I’m unlikely to operate a loco on the floats as it would mean running feeders to the floats.
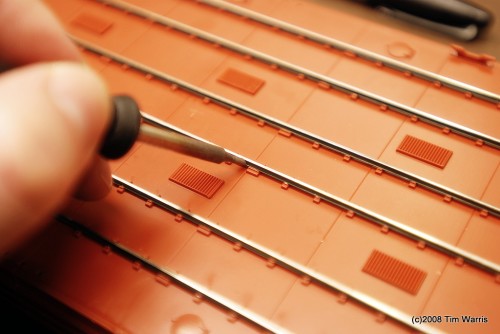
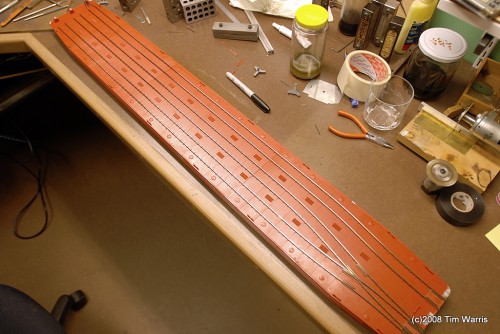
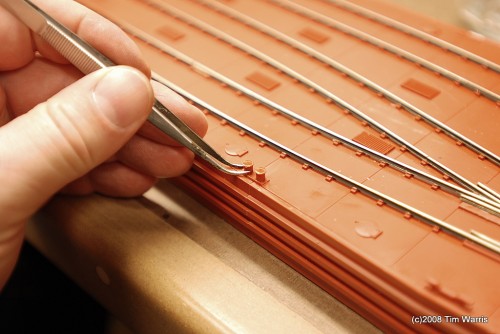
Fortunately it is pretty easy to add rail. The support plates on the deck of the float are designed to take code 70 or 83 rail. I simply glued lengths of rail in place using Pliobond. A bit of heat with a soldering iron to cure the adheasive and it is perminantly set. I initally tried using epoxy, but it was too brittle when cured and the rail poped off quite easily. With Pliobond you’d have to rip the float apart to get it off.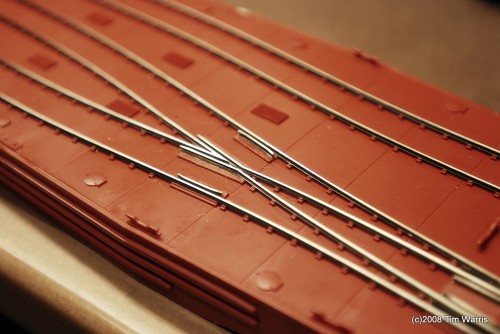
I am amazed that after all this time a company like Walthers can’t get the track gauging through the frog to work right. They make turnouts for pete’s sake! Anyway, after placing the rail in the pre-formed locations for the frog on the carfloat it ran very poorly. The flangeways, check gauge and track gauge were way off, so I tore the rail off and removed all the alignment tabs moulded onto the deck and laid the frog properly. After that is operates smoothly. Geez.
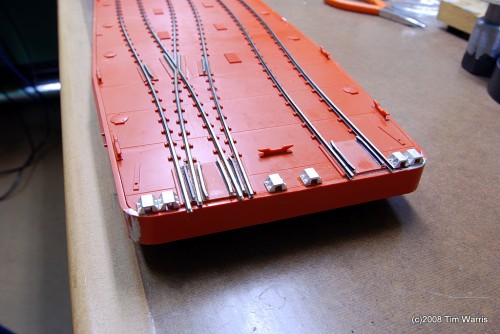
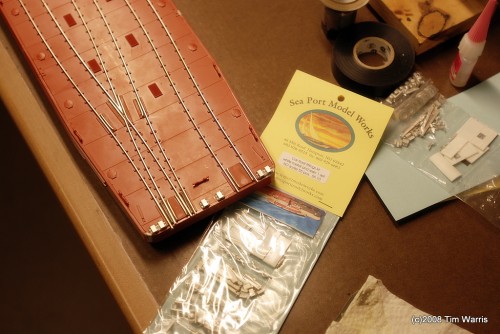
To lock a (real) carfloat solid to the float bridge there are large steel pockets on the front deck of the carfloats and the float bridge. Heavy steel bars are ratcheted in place in several locations to stabilize the float and keep it from tipping while being unloaded. The stock Walther’s carfloat has 4 of these of plastic, but the actual floats all had 6. I replaced the plastic versions with smaller, more scale metal castings from Sea Port Model Works
I wasn’t going to modify this float much beyond the stock kit, figured I’d save the scratchbuilt float project for later. Since the float bridge will also have the metal pockets I need them to line up with the floats, so I decided to make this change to the Walther’s float.
It actually took longer to add the rail to the float than it did to build everything else! Worth it though.
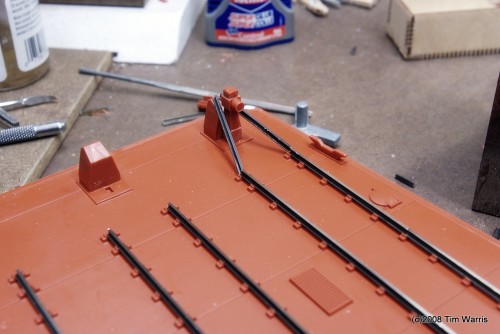
The track bumpers in the kit also include plastic rail that just doesn’t look right up against the metal rail, so I am forming these from bits of code 70.
All the bitts and pieces from the kit look good enough, so I will use the stock versions, even though the Sea Port Model Works carfloat detail kit included some metal versions. I’m gluing on some bitts here. Hey, I just got that…
Having the original builders drawings for a carfloat is coming in handy! The Walther’s kit is a pretty close match to these drawings, although I don’t have any of the detail sheets, only a couple of full size views.
On to Next Section
-T.
About the Author:
I'm your host, Tim Warris, a product developer in Port Dover, Ontario. Since March of 2007 I have been documenting the construction of the former CNJ Bronx Terminal in HO scale. For my day job, I design track building tools for Fast Tracks, a small company I own and operate. Fast Tracks makes it fast and easy to hand lay your own trackwork. Stop by our website to learn more!
Posted by: Tim | 11-27-2008 | 10:11 AM
Posted in: Latest Posts


Looks good! Any reason why one could not drill a few holes
in the bottom and add some wires between the pockets and
the rails for power? This would still allow the float to be
moved, but would electrify the rails for proper operation.
Just a thought…
I’m wondering how to go about getting a copy of those carfloat builders drawings, where did you get them?
Thanks, David
I noticed another person has asked this question already, but how does one go about getting the plans you have to a carfloat. I am going to be scratch building one in N scale and your help would be greatly appreciated.
Hi Chris,
A great source for information is the Rail-Marine Information Group.
http://www.trainweb.org/rmig/
Lots of great resources there.
Hi
I love your layout and would like to build similar. BUT!
Your description of stabilising the car float by locking it to the bridge is erroneous. The barge would be moored for and aft by warps and fenders to restrain it laterally and would be locked to the bridge to prevent the barge from surging longitudinally and to fix the bridge to the barge. The barge would be free to roll and the bridge would be torsionally flexible to accomodate that. There’s no way that the locks could withstand the 300ton out of balance forces during loading and it would be very difficult and unecessary to force the barge into being horizontal while locking.
I would like to build a layout incorporating some of the aspects of yours but I would either have real water or a “water surface” on cams so that it rises and falls and a barge that could pitch and roll in accordance with the loading.
Archie
Your carfloat looks great! I am in the process of building one now and would like to install metal rail as well, since the plastic rail looks terrible. Did you have to roll the rail in order to bend it to the curves of carfloat’s rail platforms, since I’ve never worked with loose rail?
HI Tim
great work, your track work is what I would call, superb!!
I’ve decided to add a car float to my layout. Of course I too wil be using metal rail. Could you tell me the frog angle on the float?
Much Thanks
I am not really sure what the angle is, seems like a bit of an odd size, like a 3 1/2 or 4 1/2. I just made the frog points by eye. Seems to work well.
I have spotted a problem with this series of photographs….
Where is the obligatory photo of Bryn ???. Lol.