Finishing the Carfloat. Finishing the Track
Out with the fun, in with the dull
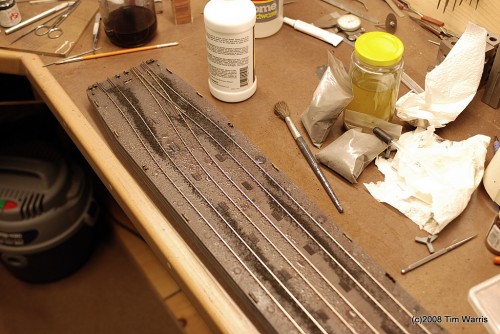
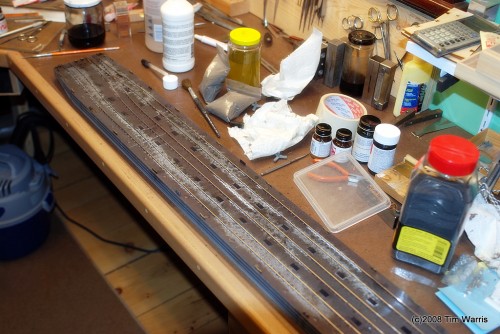
I finally had some time to finish the carfloat. Since the glueing test for the gravel onto the deck went well I decided to finish the rest of it. To start I sprinkled some Woodland scenics black gravel around the rails. I then augmented that with some crushed real coal I had on hand. I have no idea where it came from, but it is great stuff. Two bags, one fairly large and consistant, and another bag of very fine, dusty coal. I start with the coarse stuff and add some fine stuff on top. This mix looks very authentic. All one size never looks right.
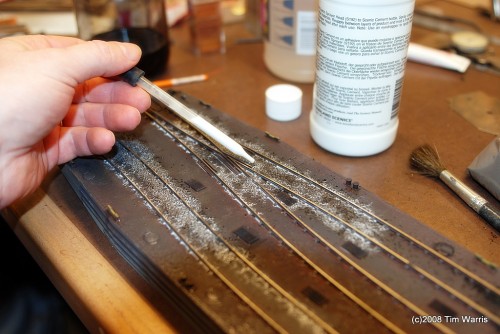
I soaked the deck down well with some water sprayed on from a mister. This was followed up with some Woodland Scenics glue applied with an eyedropper. This was done as carefully as possible to avoid getting too much glue on the deck. When dry, any excess glue would likely be quite noticeable.
The result is a nice mess. When dry, I’ll post some shots of it.
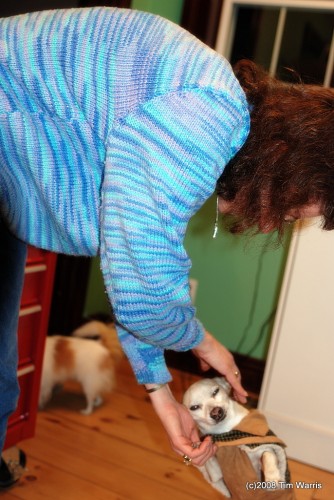
Just then, the dogs arrived for their evening adoration. Here’s receiving his nightly dose, seems to be enjoying it well.
A job I have been avoiding is to solder on all the remaining PC board ties to the finished turnouts. Initially I was going to use wood ties to complete the trackwork, but I have since decided to use all PC board ties for added strength. Fitting and soldering all those in place is a bit of a tedious job that I have been avoiding.
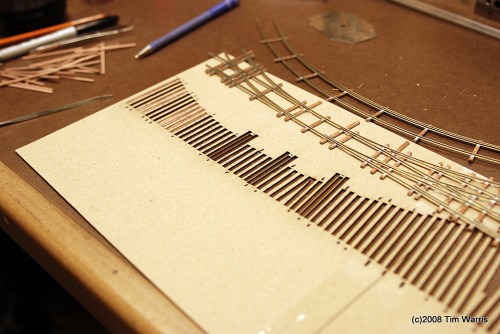
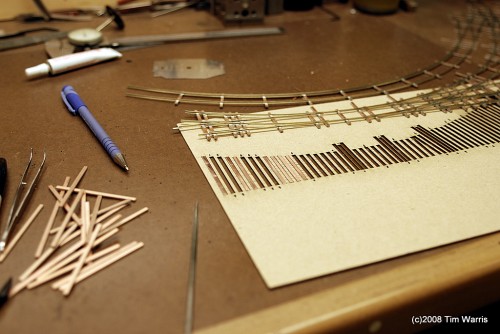
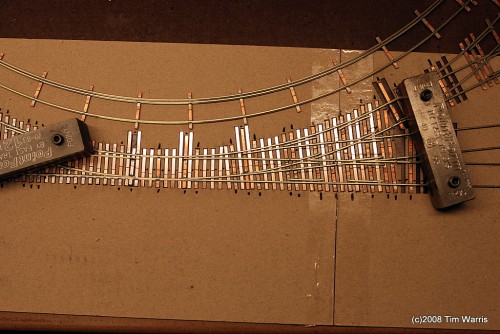
To make the job easier, I used the original CAD files I used for the design work to cut a simple jig from cardboard to help align all the ties. This sped the job up a bit by holding all the ties in place while I soldered.
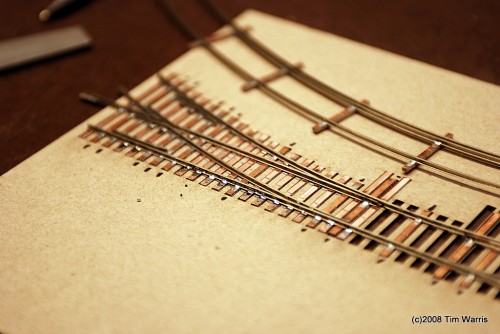
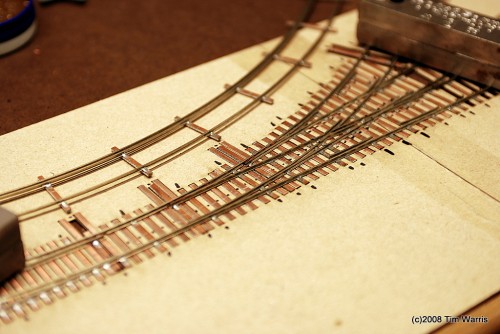
Ties soldered in place to one of the #3 turnouts.
The switch points will be cut free from the turnout and hinges formed using rail joiners.
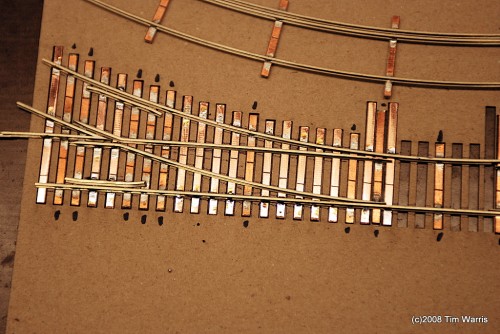
One #3 three way curved turnout with the PC board ties in place.
Ties complete. See, a bit of a dull job. Unfortunatly there is a ton if it to do yet. I really should focus on this process to get the trackwork finished before the next show. Only problem is, there is nothing interesting to take a picture of…
-T.
On to Next Section
About the Author:
I'm your host, Tim Warris, a product developer in Port Dover, Ontario. Since March of 2007 I have been documenting the construction of the former CNJ Bronx Terminal in HO scale. For my day job, I design track building tools for Fast Tracks, a small company I own and operate. Fast Tracks makes it fast and easy to hand lay your own trackwork. Stop by our website to learn more!
Posted by: Tim | 12-04-2008 | 11:12 PM
Posted in: Latest Posts
Nice job on the float. I’ll be referring to your build when I finally get started on my own.
The track work looks like it is going to be nearly bullet proof too.
Looks like you are putting your laser cutter to good use. Without a laser cutter, this would have probably been even more tedious. I wonder when laser cutters and 3d printers will drop in price to the point where all hobbyists will be able to afford them…
Hi,
I used the laser to cut the tie stencil, but the job could have just as easily been done with a simple printout. The advantage of the laser cut stencil is that it holds the ties in place. A printing would have required a drop of glue to do the same thing.