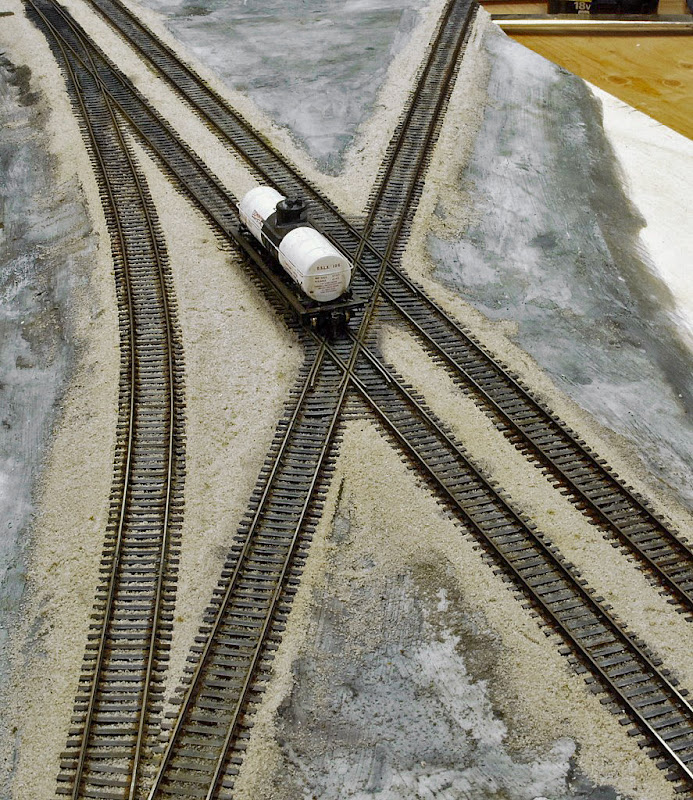
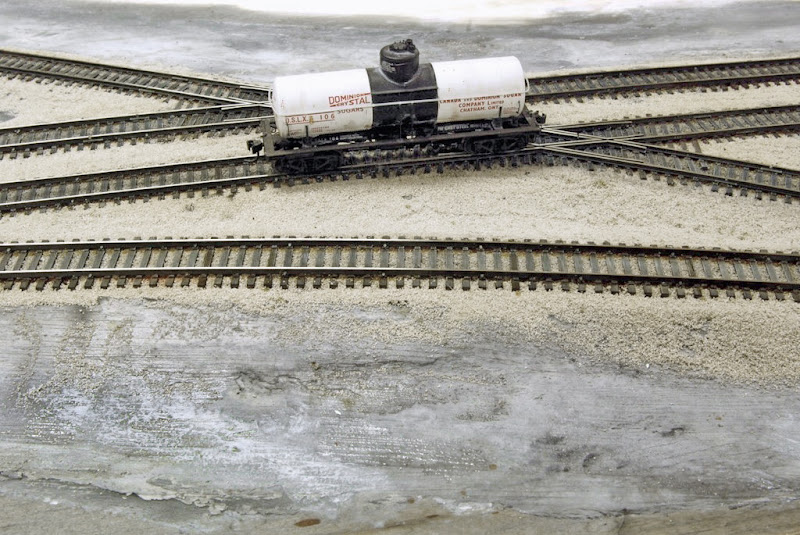
Track Painted
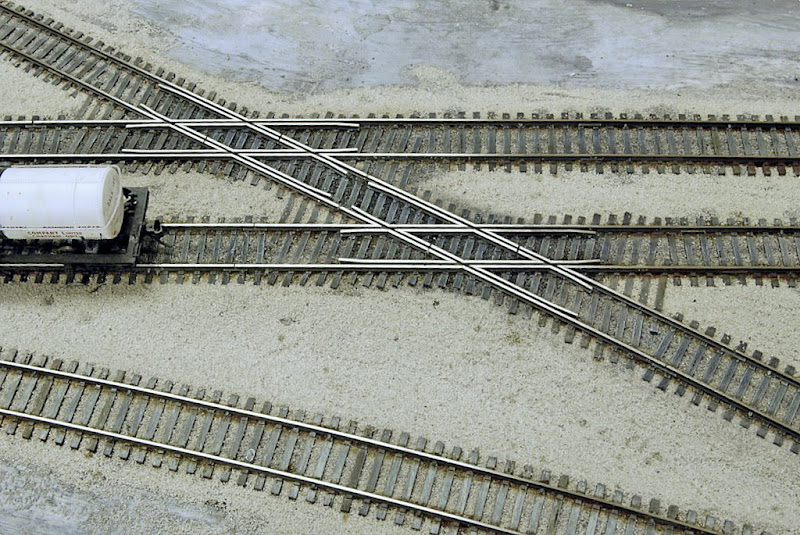
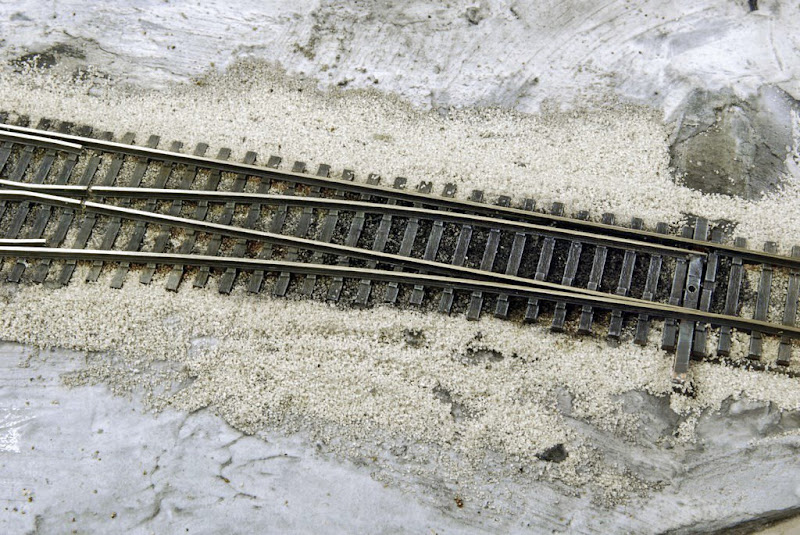
Final trackwork work.
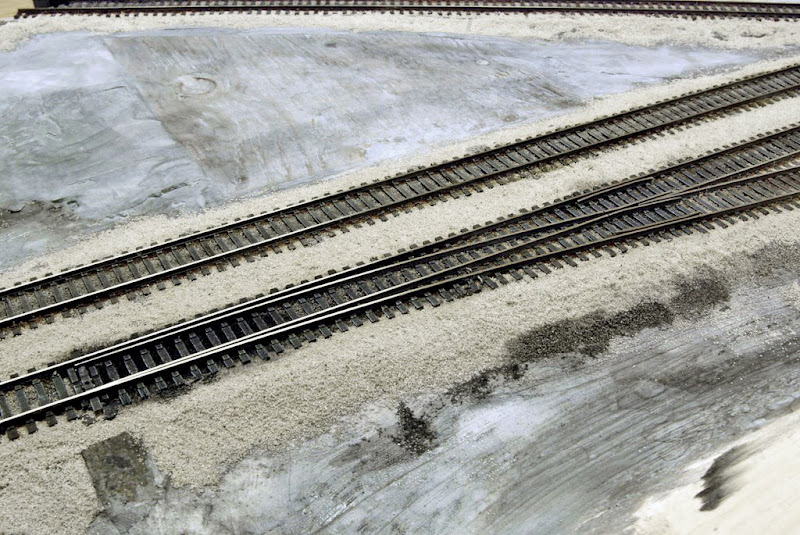
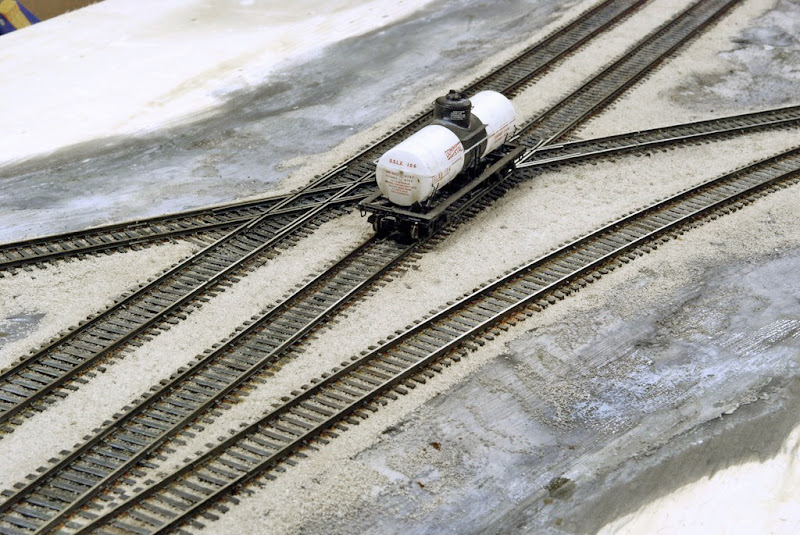
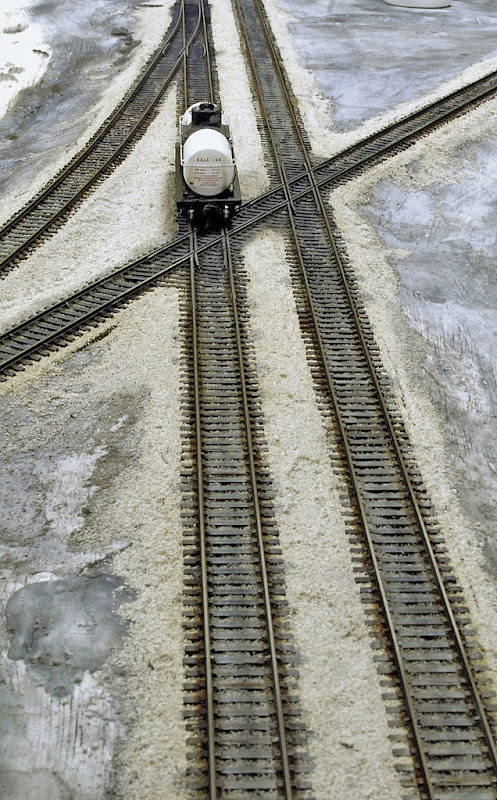
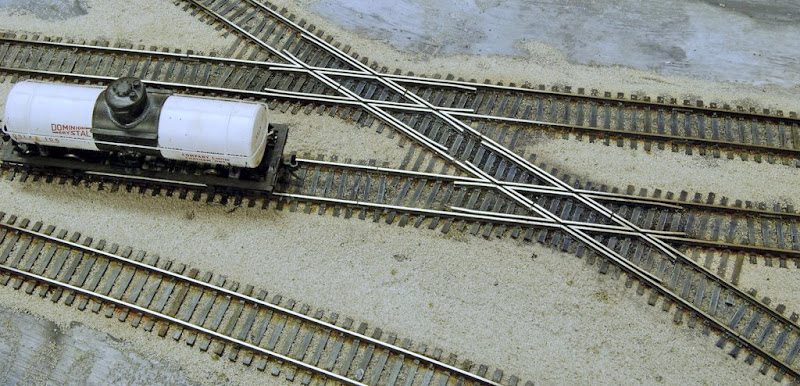
With the ballasting complete and dry I moved onto final finishing. Using a variety of washes I stained the ties between the rails to simulate a buildup of grime. A rusty colour wash was brushed along the edges of the rail and allowed to flow onto the ballast to create a rusty look along the rails. This is quite noticeable on the prototype and seems to work well here.
A bit of drybrushed white Floquil paint was added to the tops of the ties to bring out the wood grain a bit.
With the track finished I can move onto some of the structures, starting with the station.
click on images for large version gallery….


About the Author:
I'm your host, Tim Warris, a product developer in Port Dover, Ontario. Since March of 2007 I have been documenting the construction of the former CNJ Bronx Terminal in HO scale. For my day job, I design track building tools for Fast Tracks, a small company I own and operate. Fast Tracks makes it fast and easy to hand lay your own trackwork. Stop by our website to learn more!
Posted by: Tim | 01-09-2008 | 10:01 PM
Posted in: LaSalette Freemo Module | Latest Posts

Really, really nicely done. The tie weathering is very convincing. What time of year is this module set it?
Hi,
Thanks!
1935-1955. Its a wide range but when the modules are being displayed it allows us the greatest freedom in equipment.
Tim
The track looks great, but why is the ballast so yellow?
I does look yellow in the images, but I think that is from the pictures, the actual ballast is gray.
The Trackwork is nicely done. I noticed tie plates under the rails on the module that I have not seen in your previous work. I apologize if this has been touched on somewhere else in the blog, but could you comment on how the tie plates were added. I have been fiddling around with your jigs and some of Andy Reicherts stuff from the proto 87 guys, and was curious how you did it. Thanks again for the great modeling and resources!