Virtual Fascia Improved.

Apparently my Photoshop skills are a bit lacking as can be evidenced on the previous post where I coloured in the fascia on the layout rather haphazardly. Fortunately I was sent an updated version today by a modeler who is a bit more skilled at such things, he took the liberty to polish it up a bit. It is surprising how convincingly he did this. If I never actually show anyone the layout other than on the website I won’t need to build it at all…
Thanks Roger!
Since the fascia was so well done I thought I would experiment a bit with some colour variations. I initially was going to use black, but now I’m contemplating using a bit of colour instead. Still haven’t decided.
Here are a few samples…
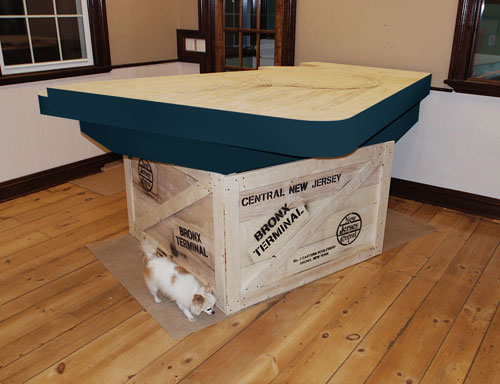
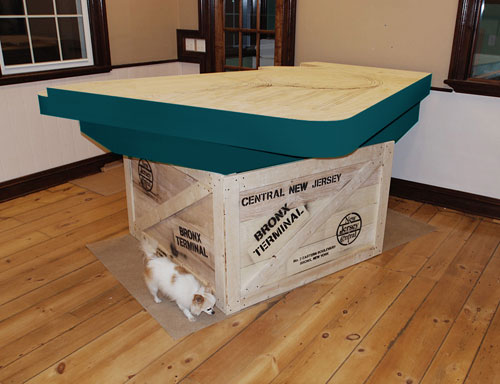
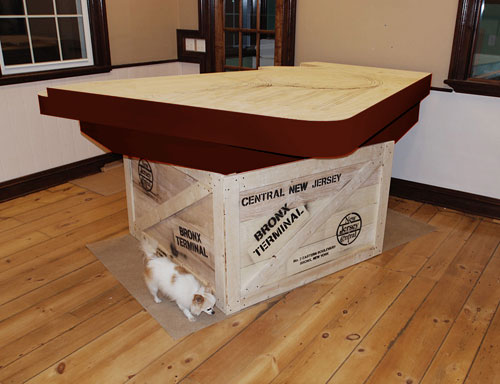
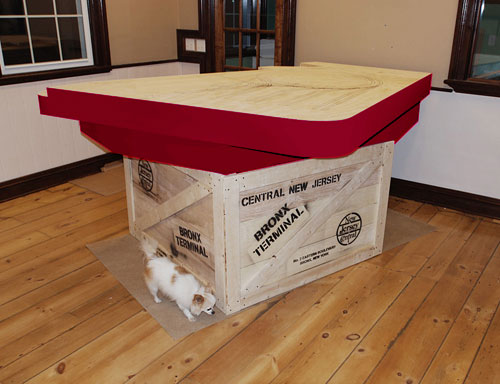

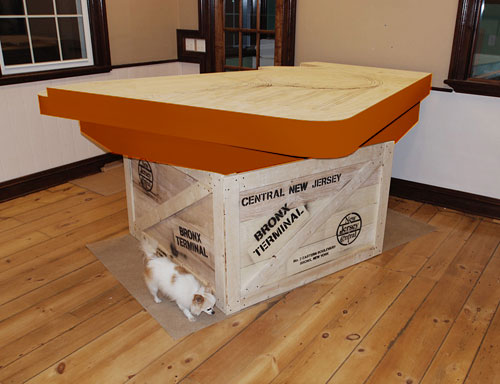
Wow. Some of those are hideous. If you see any you like let me know.
On to Next Section
-T.
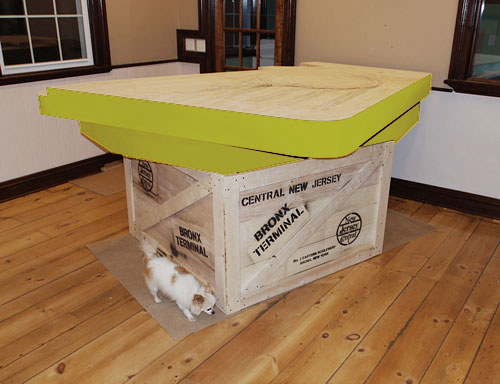
Bound for the Terminal
click on image to embiggen….

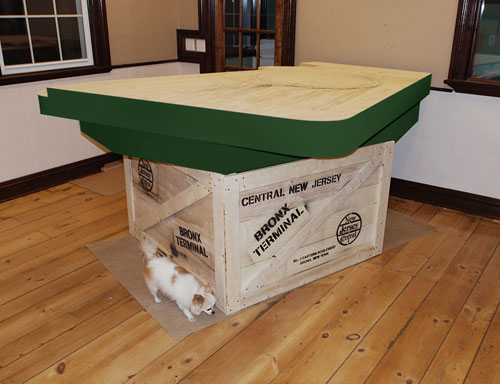
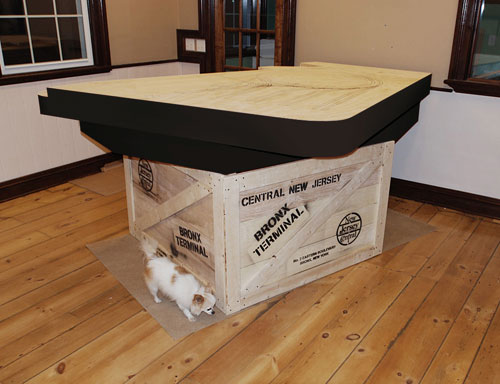
Initially I was going to wrap the outside edge of the layout with black curtains, but after giving it some thought I decided to do something a bit more interesting. The folding legs form a complete square under the layout, so I decided to wrap them in a shipping crate. The crate is built with four removable panels that are held to the legs with Velcro. Once the benchwork is set up I can simply stick the panels to the legs.
I cut some stencils and labeled the create for the Central New Jersey Bronx Terminal. I also cut out a New Jersey Central logo from the era the Terminal was built. The street address, No. 2 Eastern Boulevard is also stenciled onto the crate.
When the top is complete it should look like the layout is sitting on top of a shipping crate. Its a bit hard to visualize, so I poorly painted in the edge of the layout using Photoshop to get an idea of what it should look like.

I’m happy with the results, now I will finish off the fascia of the layout with Masonite and paint it black. I like it much better then the spindly legs version…
On to Next Section
-T.
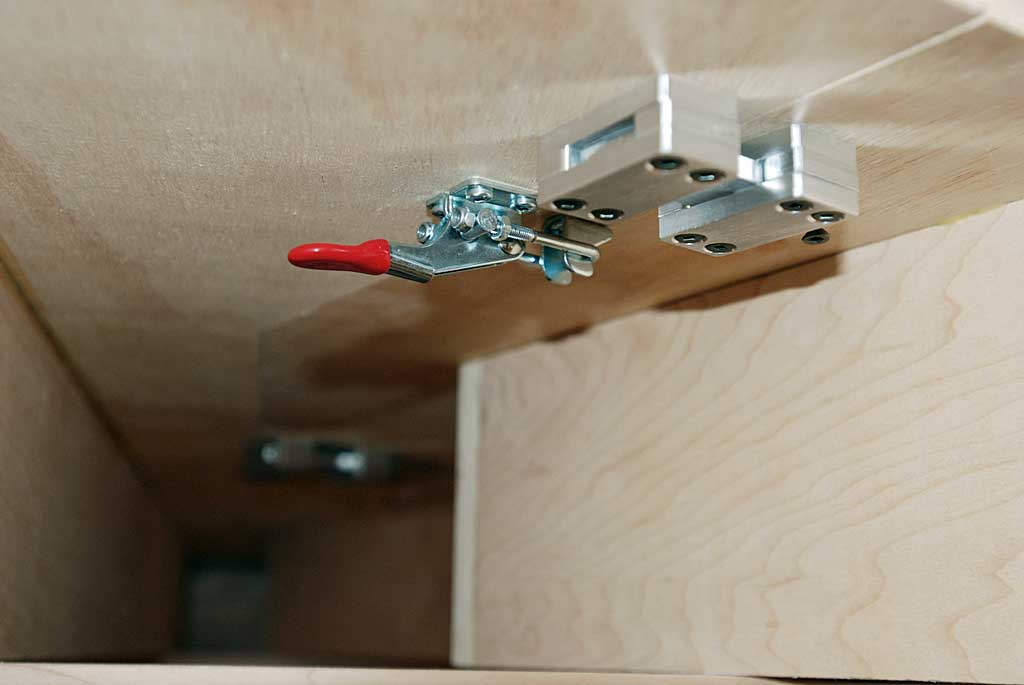
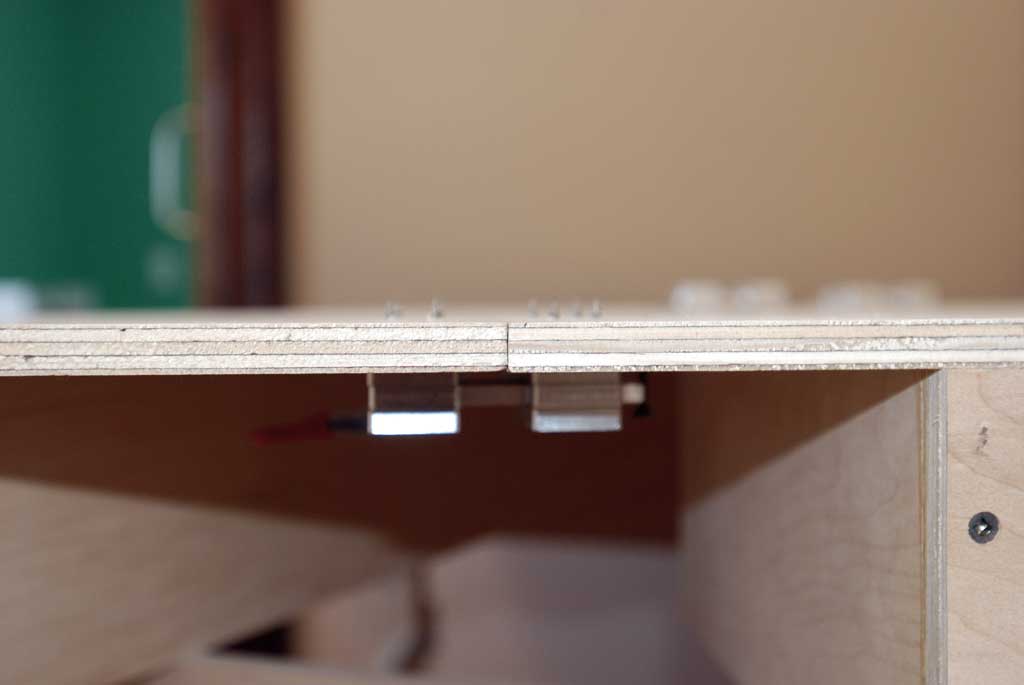
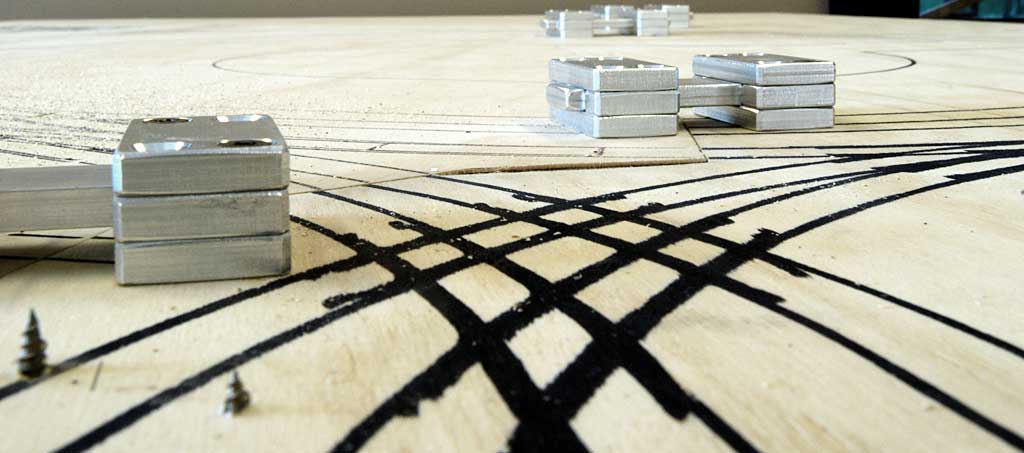
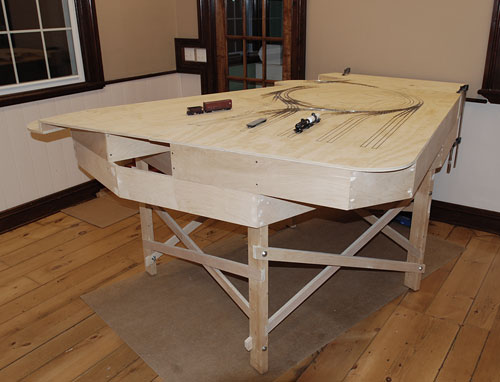
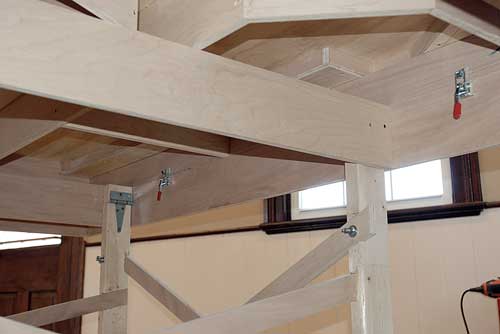
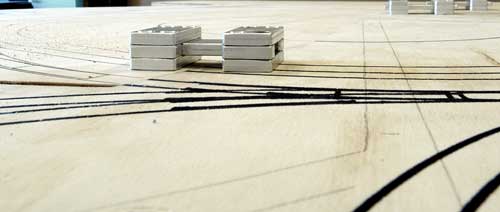
Hold down and alignment clamps tested
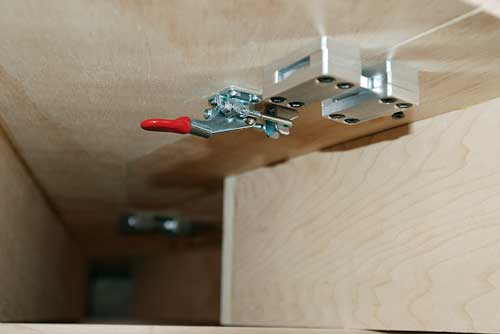
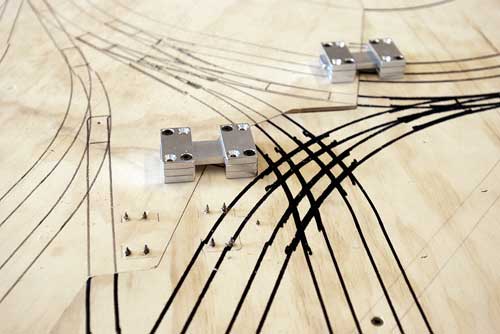
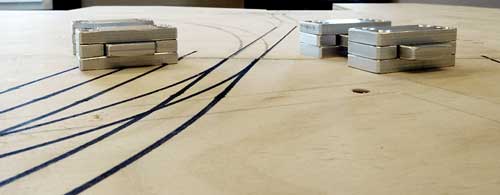
The hold down clamps I purchased (KBC Tools p/n 1-990-40323) arrived on Tuesday and I managed to get the in place on the boxes. These work as I had hoped and lock the boxes down tight against the benchwork. I also have installed them to the underside of the top to hold the sections tight against each other.
The aluminum alignment climps also work very well, keeping the top surface of the layout dead flat, which will be critical as I do not want to have any trackwork misalignment, its already complex enough!

No alignment between the benchwork and the boxes is necessary, the boxes simply line up with the edges of the benchwork and the latch clamps hold it in place. Once clamped in place the entire layout becomes a single unit that is very rigid.
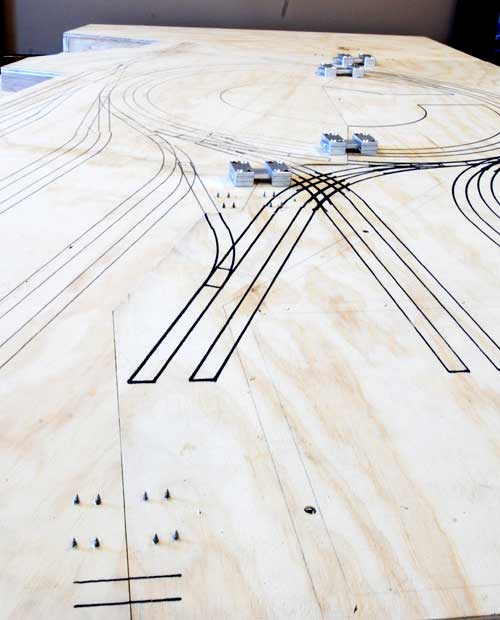
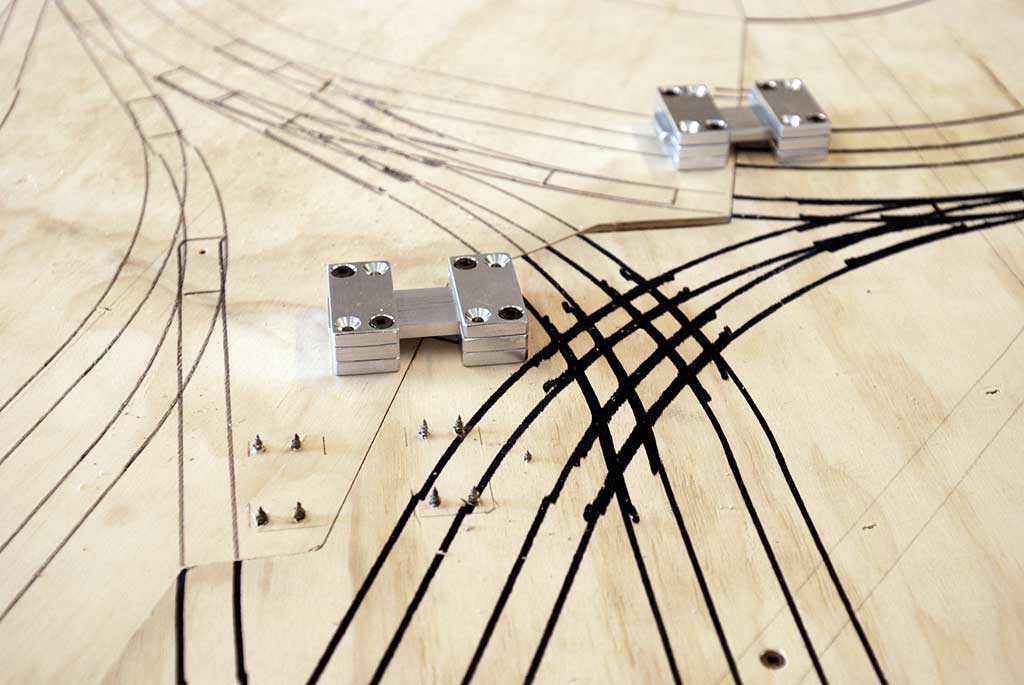
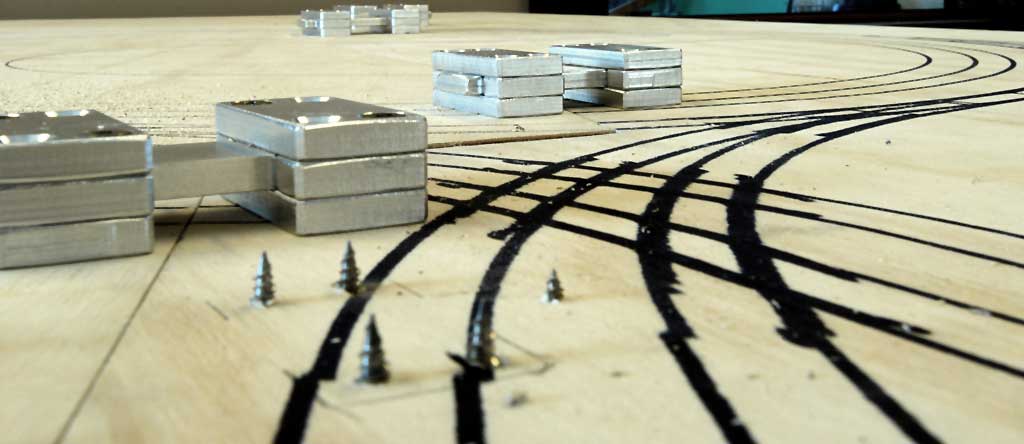
It is critical that all the alignment clips are parallel with each other, and perpendicular to the edge of one of the boxes, this will allow the boxes to slide onto the tongue of the clips in a single motion. If they were not parallel to each other the tongue of the clip would not insert into the groove. Since it would have been very difficult to align these under the layout as all the benchwork would be in the way I positioned them on the top of the layout. This also allowed me to avoid putting them where switch machines will end up. Once in place I drove long screws from the top through them and through the top of the layout. This created holes that I can use to screw the clips in place from underneath.
In the picture above a couple are in place underneath, with the rest still in place on the top surface. I can’t find 1 1/8″ long wood screws so they stick up a bit, I will grind these off later. (right after I jab myself with one)
I will place an alignment clip on each side of any location where track crosses a joint. This will ensure perfect alignment at the surface.
The top surface is nice and flat and should not be able to warp.

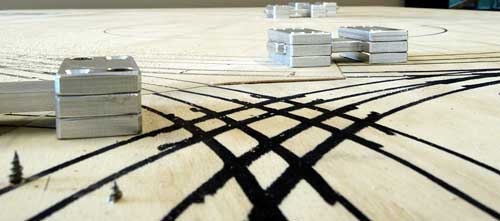
These shots don’t really show anything, I just think they look neat.
Tonight I hope to complete the installation of all the alignment clips and hold down clamps. There is still a bit of edging to install on one of the boxes. I thought up a cool way to present the layout, a bit of a finishing touch to the structure. Last night I ran out to Home Depot and picked up the items needed for this, if it turns out well you’ll see some shots of it in a couple days.

All that hard work wore this guy right out.
On to Next Section
-T