Weathing the Carfloat
Getting dirty
Since I am damn near crippled from the weekends work, I decided to take the evening off from home renovation fun and work on the carfloat a bit.
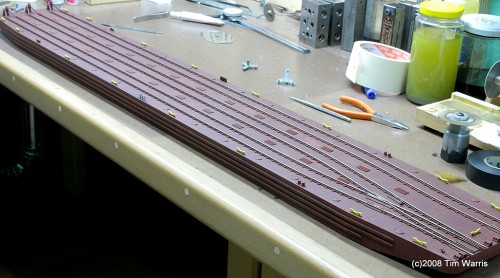
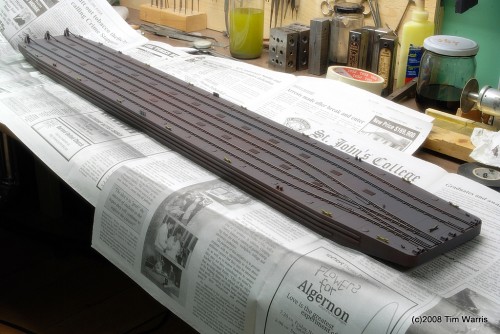
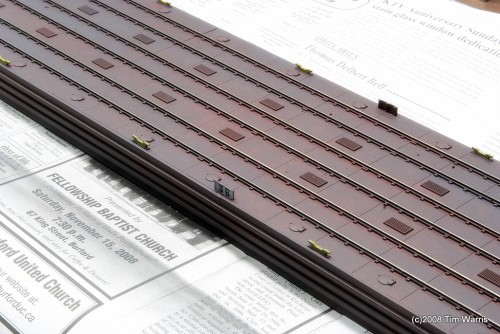
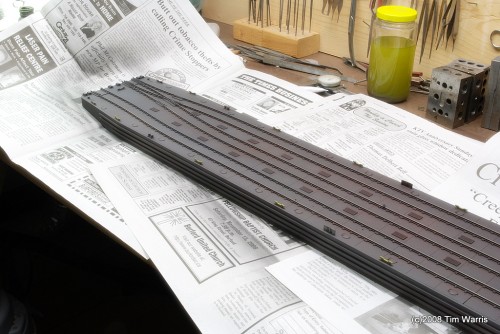
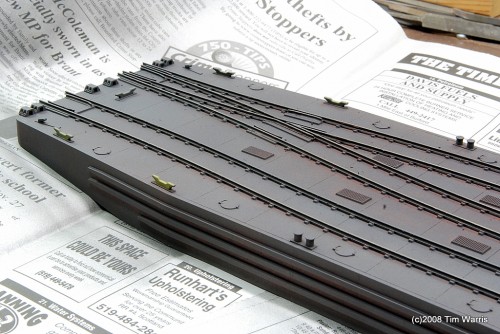
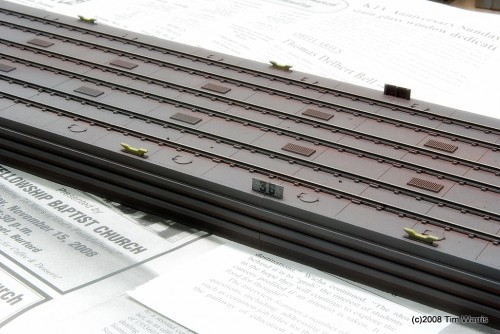
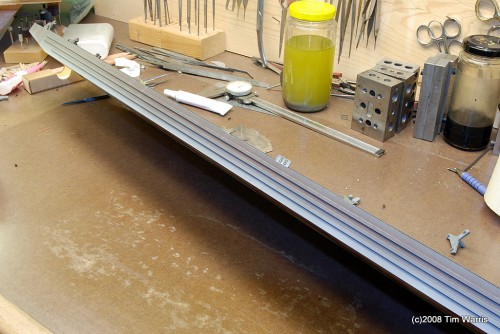
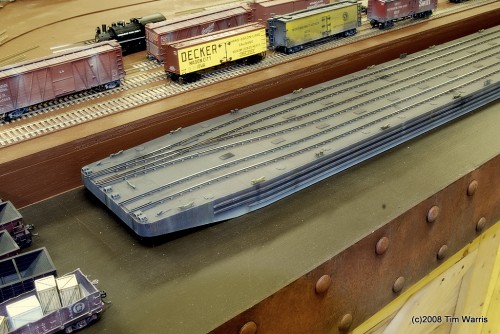
I wasn’t happy with the colour of the carfloat. It looked too red for my tastes. The only time it might have looked that way was if it was painted with a fresh coat of red oxide primer. I don’t think it would have rusted to a reddish colour while still in use. After a few years of sitting in salt water it might have taken on a red colour, but while being used it would have been almost black. So out came the airbrush!
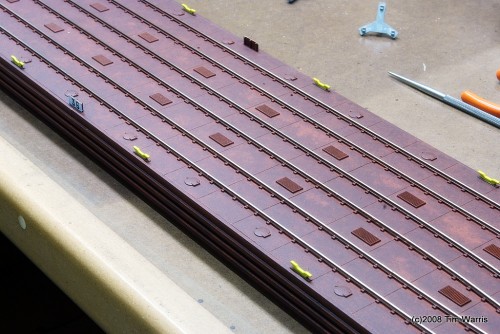
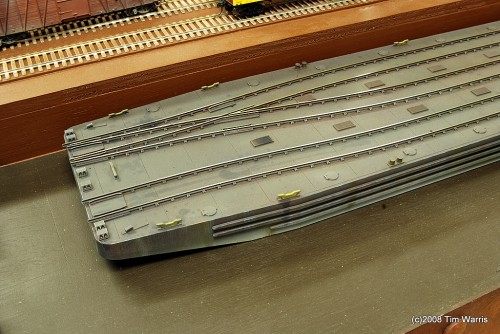
See, too red. And a bit blotchy too. I painted the things they attach ropes to. What are they called? Rope things. Cleats (I knew that, it was right on the tip of my tongue, it was late. Thanks Pierre) Anyway, I hand painted them yellow. I also added the number decals, I wanted to get this step finished before weathering so it would all blend properly.
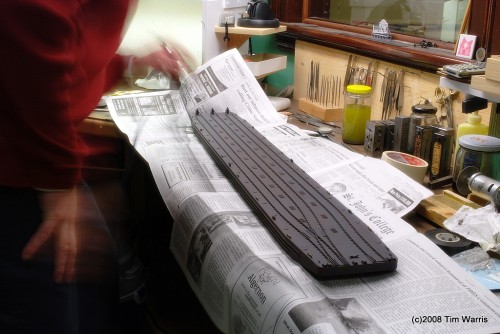
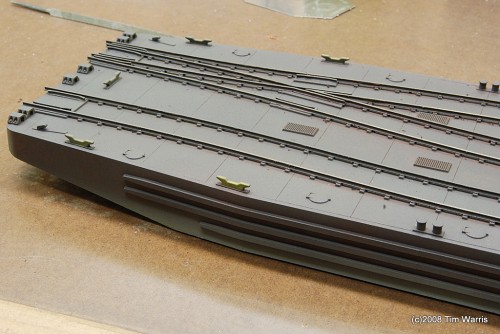
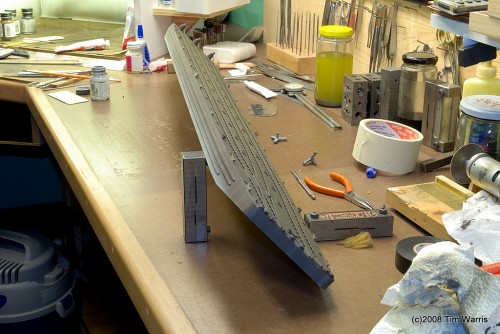
I started by misting the entire float with some Floquil Grimy Black, that’s me in the blur.
It is already starting to look better.
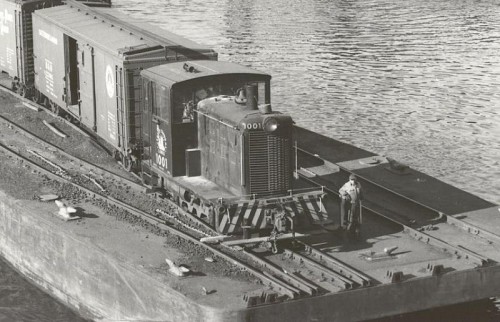
Next, I used some light grey (UP Harbor Mist Grey, Floquil) to create a lighter area along the waterline. Being exposed to salt water left the waterline with a lighter colour. I’m working from this image…
Notice the ligher area at the waterline? I like that gravel all over the deck too, will add that later.
Next, I added some vertical streaking on the side of the hull. This was done using a light gray paint drybrushed on. A light touch that adds quite a bit of detail.
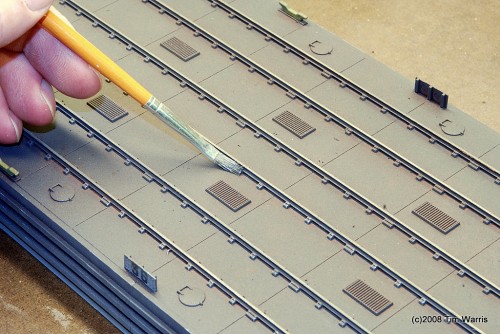
Taking a page from military modelers, I like to drybrush all raised details with a light gray. Done conservatively this helps the details jump out quite a bit.
Using some black leather dye diluted with rubbing alcohol I randomly splashed some spots to represent various oil stains. Subtly is the key here.
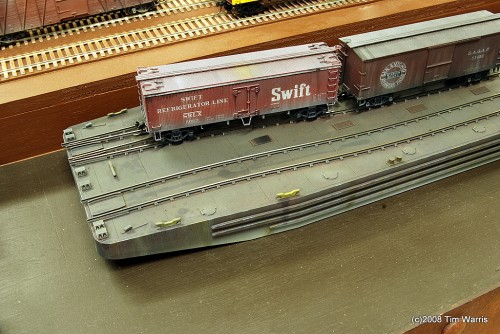
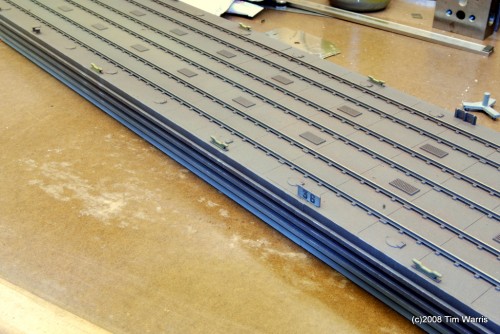
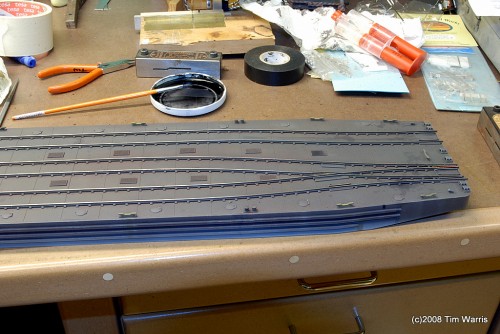
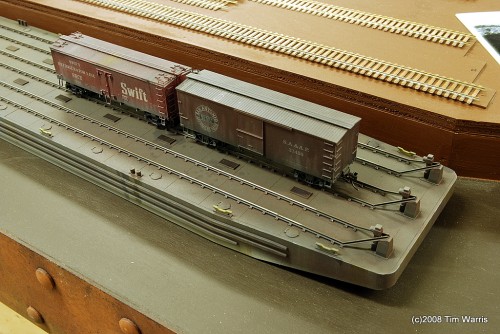
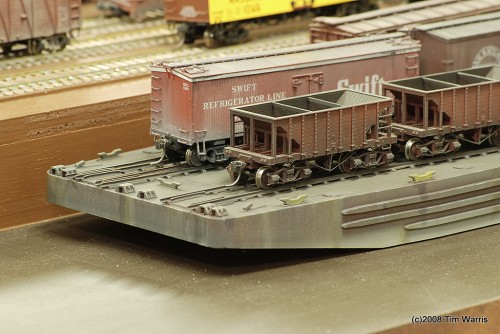
The bulk of the weathering complete. Keep in mind that the light in the layout room is crap. On my list of things to fix. Getting accurate colours in photos has been a challenge. This is pretty close though, but I think it looks better in person.
Needs water.
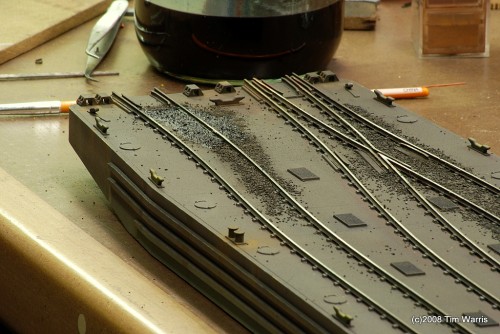
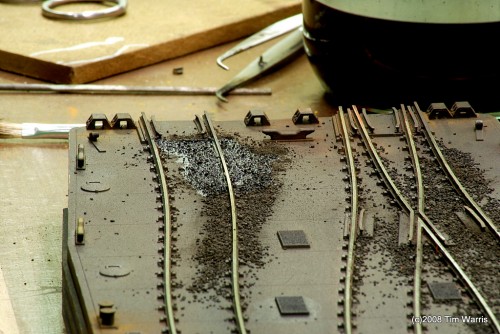
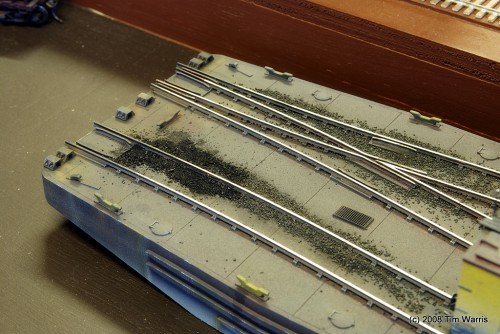
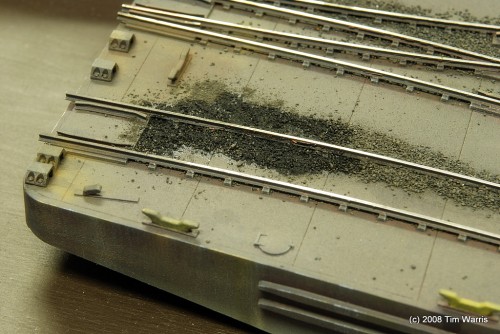
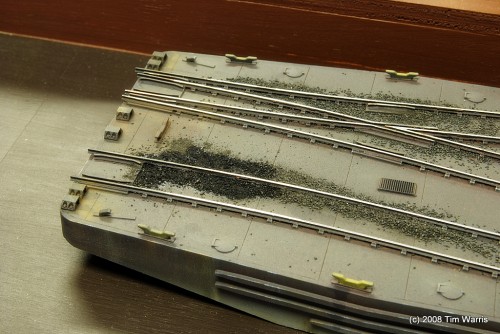
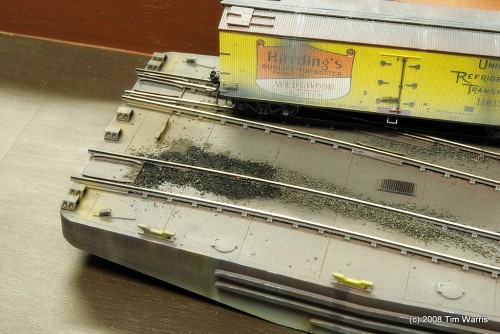
I added some gravel to the deck to simulate what I observed in the prototype image above. Before getting too carried away I thought I would do a small area to confirm that once glued in place it will look right. I am a bit concerned that the glue will leech onto the deck creating a big shiny spot.
Will let the glue dry overnight and see how it looks. If it is acceptable I will add lots more next time I am working on the float.
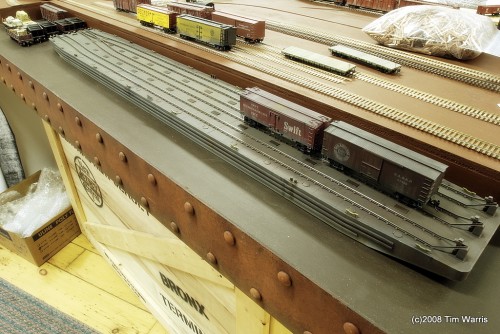
I like these results much better. The floats should look pretty good as they are a focal point of the layout. Especially when that is all that is finished! (so far)
-T.
Update – The Next Morning
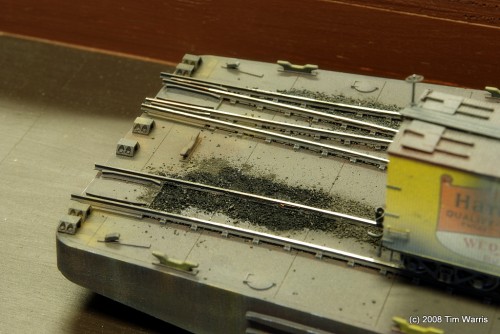
After drying overnight the glue used on the deck gravel dried clear without being noticeable at all. I really like the look of the spilled gravel and coal on the deck, so I will go ahead and glue it all in place.
The colour of the gravel/coal that has been glued in place is darkened by the glue, but that isn’t much of a problem.
-T.
On to Next Section
About the Author:
I'm your host, Tim Warris, a product developer in Port Dover, Ontario. Since March of 2007 I have been documenting the construction of the former CNJ Bronx Terminal in HO scale. For my day job, I design track building tools for Fast Tracks, a small company I own and operate. Fast Tracks makes it fast and easy to hand lay your own trackwork. Stop by our website to learn more!
Posted by: Tim | 12-02-2008 | 12:12 AM
Posted in: Latest Posts

Excellent result! I really like how it is coming along.
Gee, without the boxes to protect the layout, it is getting the weathered and worn look to match the carfloat and boxcars which will be on it.
Are you going to have gravel and coal on the ground in the approach to the float area to match the spilling going on on-board as well?
Kurt
Tim, have you thought of doing some work on the edge of the car float water area? Or have you just not got the “round-too-it” for that project yet. I noticed the edge of the plywood top stands out when looking at the carfloat sitting on the layout.
Hi Tim!
Glad to see the blueprints I sent did some good! I have that same photo by Herb Harwood……I believe the “gravel” spilled on the deck might also be prt of what some railroads coved their decking with, as sort of asphaltum that served as a non-skid surface (I can send you some LV closeups of a carfloat deck if it helps)….Of course, it could just be spilled coal, too!
Keep up the good work…Looking forward to meeting you at Springfield, along with Craig Bisgier and Dave Ramos in tow, too!
Ralph Heiss
S. Plainfield, NJ
Craig Bisgeier was right when he stated Tim had a permanently installed caffeine drip. Amazing stuff Tim! You work so quickly, and achieve such great results. For what it is worth, my opinion on the spilled coal/gravel versus purposefully applied asphaltum, my vote says it is a coal/gravel mix. Judging by the amount of other debris on the deck, these floats were very busy and cleaned only when time permitted (?). When in the Navy, the top deck and hanger deck were covered w/ a surface known to us by the name of “Non-skid”, a very coarse grit/aspalt coating. It would be neat to see the pics that Ralph has…as I could be very wrong. Great work, love the updates!
Hi Kurt,
I agree, the layout is starting to get banged up pretty good. I have moved it quite a few times already taking it to shows, and each show takes a toll on it. The whole goal of the layout was for it to be portable and to go to as many shows as I can handle. The plan is to build protective boxes for each section for moving. So far I just haven’t got to it yet. Once I mount the track in place that job will have to be done, which is why I haven’t mounted the track yet.
They plywood you see will all be covered over with scenic details and will not be seen on the finished project.
-T
Too bad I live in the Central US, and to far to come and see the layout in person.
I only wish you would add the Oklahoma City Train show to your list one year and come visit us. We get many manufactors here from all over, but most are from our side of the boarder.
Keep up the good work. At least you don’t have far to go from work to home and the hobby area.
Kurt
Kurt
Excellent work Tim. I built my carfloat from scratch since Walthers retired the kit. Now that they are bringing it back I may need to pick up a couple. You do GREAT work. Have you started work on the transfer bridge yet?? I’m rebuild mine to match the steel 100′ bridge that the Erie used at 28th Street.
Tim, I will be building the carfloat in the future, do you have any hints to pass along that you learned when you built yours?
Hi,
Building the float is pretty straightforward. The only thing I would recommend is to glue on real rail, it looks better and works better. Use Pliobond to glue it in place.
And paint it. The hideous orange colour the float is moulded in is quite an eyesore…
Thanks, Tim.
I too have a copy of “Where the Rails meet the Sea”, and it has inspired me to plan a layout around an NH-LV carfloat interchange, circa 1967, complete with a carfloat on a cart wheeled across the basement from “NJ” to “NY”. In a Colorado basement…….I look at your site reularly, you are as good a webmaster as you are a modeler.
Don Tichy would be proud to see those nicely assembled ore cars sitting on your car barge.
Fantastic work, I’m a little burned that you stole off with with such a great prototype to model. But, if anyone is going to model this one, it might as well be modeled by the owner of a custom track-laying company.