Home

On all fours.

starting to look like something.

CNJ Bronx Terminal Benchwork

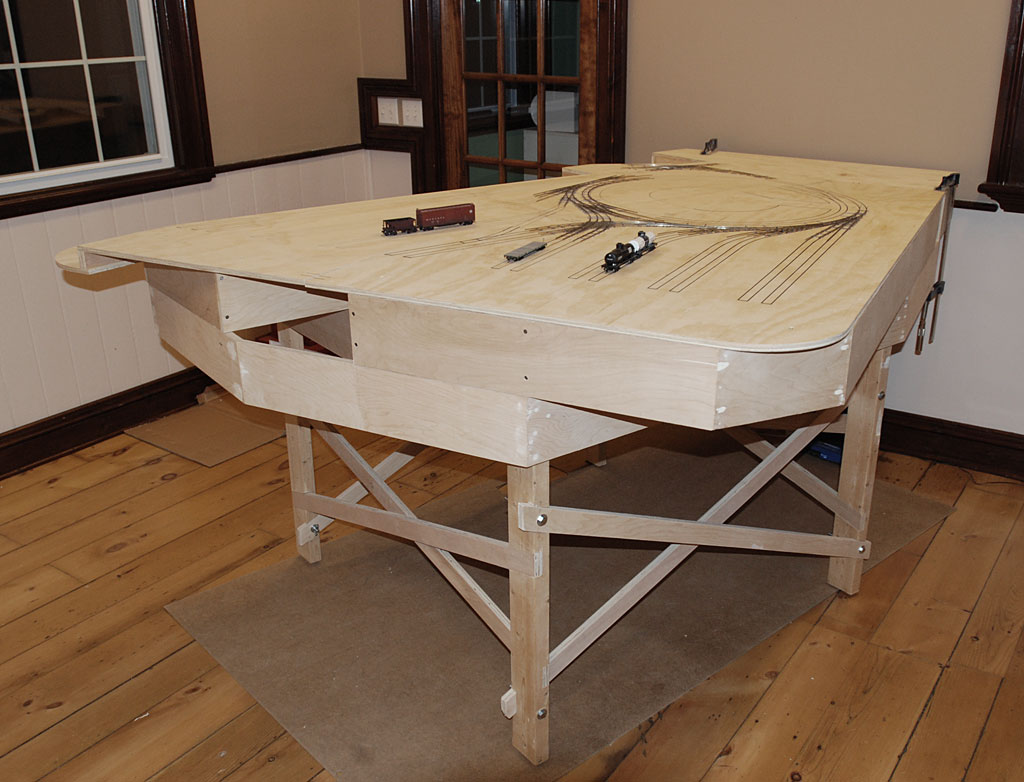
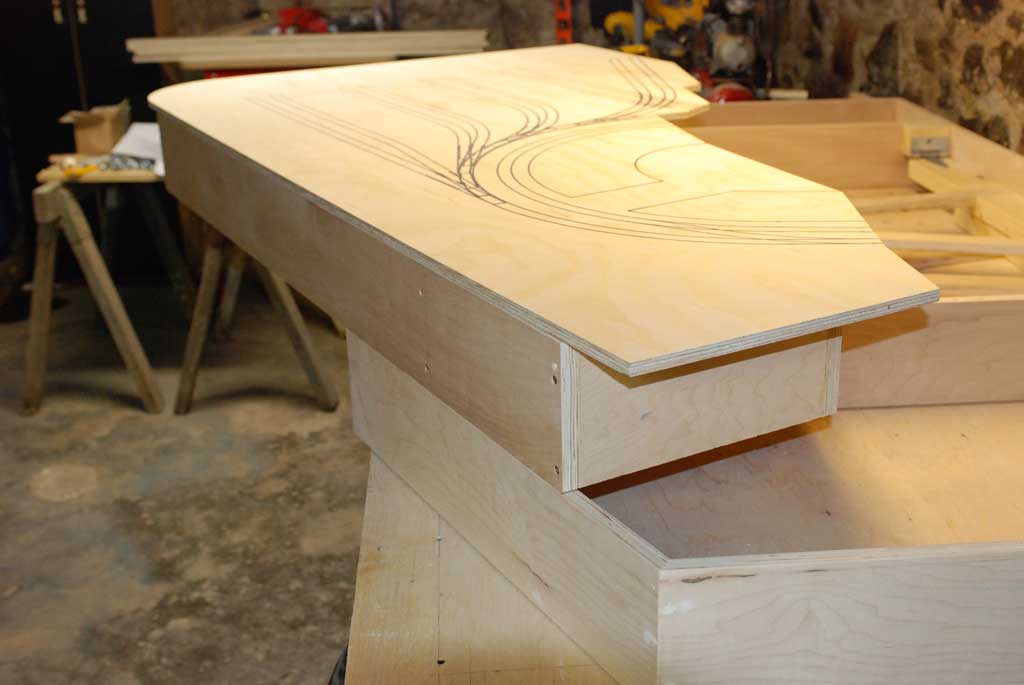
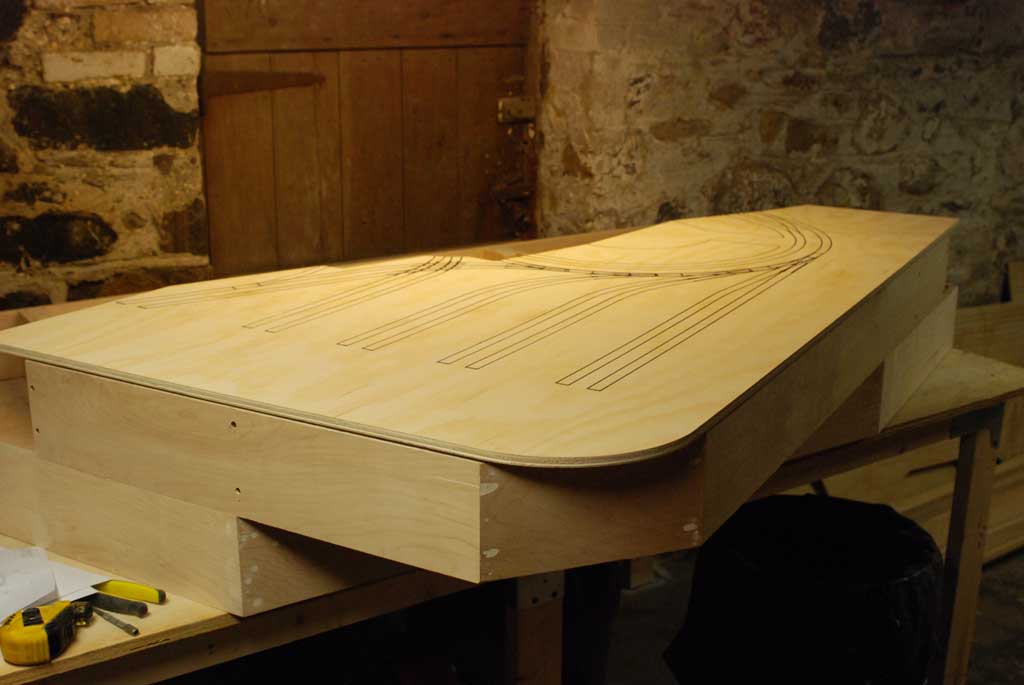
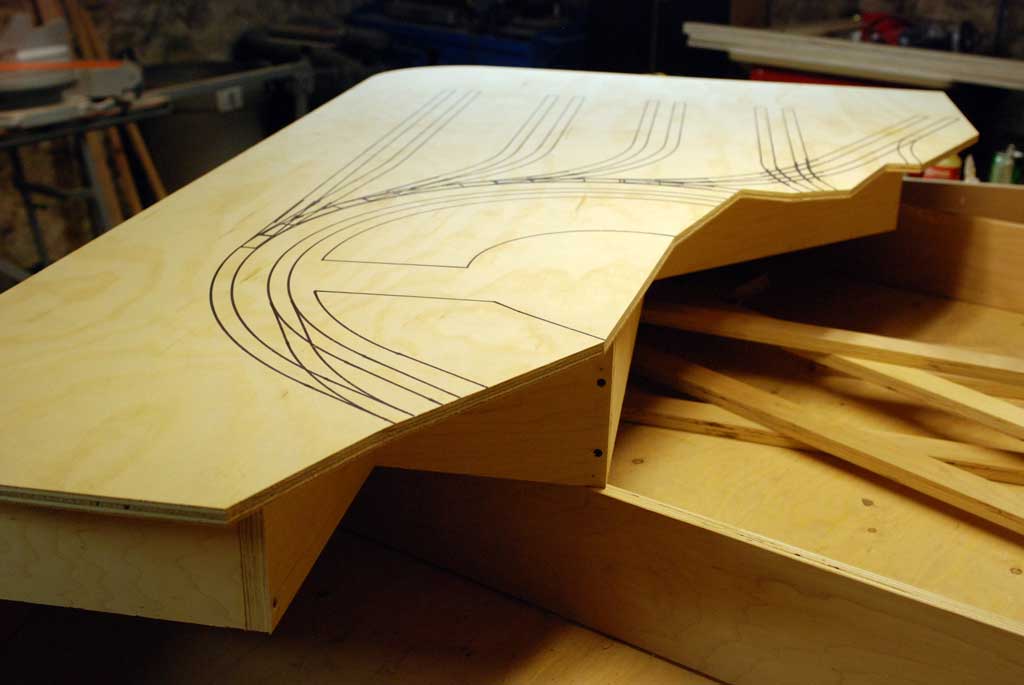
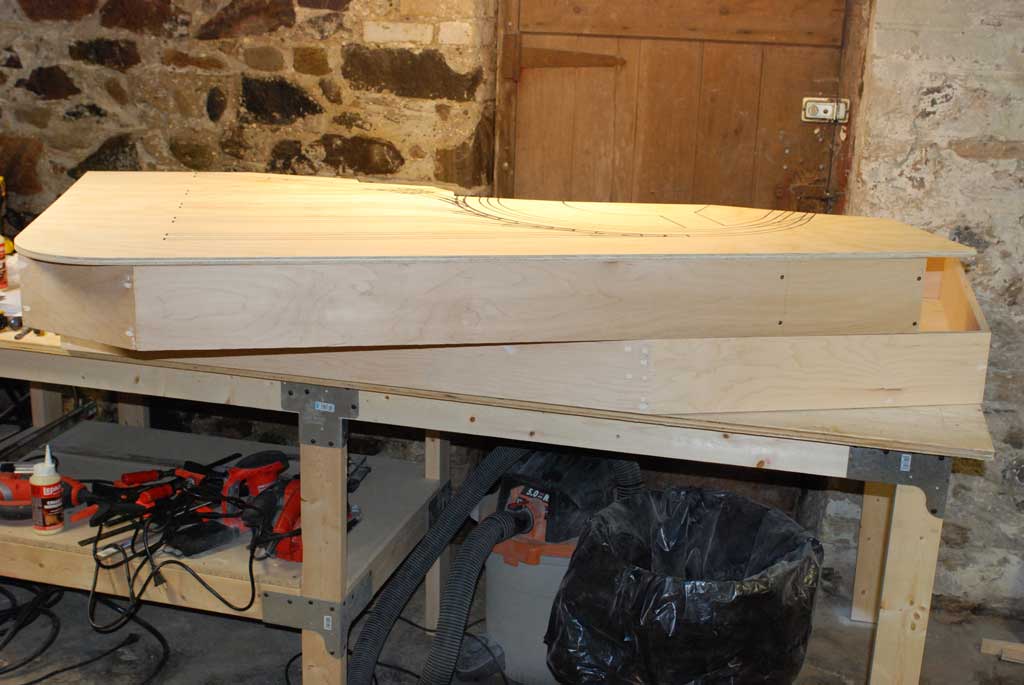
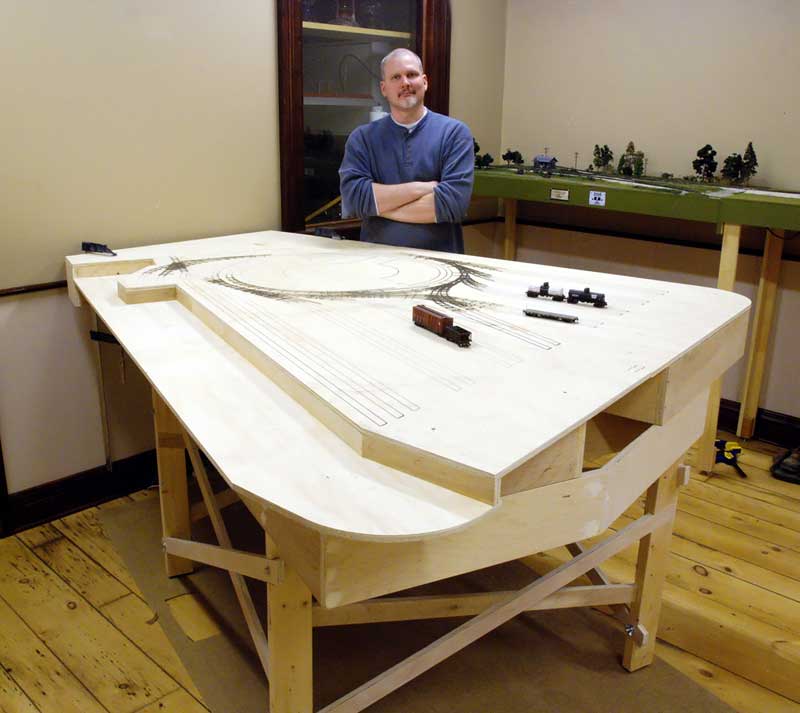
Managed to get all the boxes completed this weekend and get the layout standing. Still more to do before I can move on, but at least it is finally up! Preparing accurate CAD drawings in advance really paid off, all the pieces fit together very well without a lot of effort, I simply cut all the parts carefully to the drawings and assembled it all. It was quite surprising how well it went, typically I would design and build at the same time, and always end up with difficulties along they way. Doing all the design carefully before cutting any wood made the process of construction much easier, leaving me time to focus on the quality of the work.

CNJ Bronx Terminal Benchwork

CNJ Bronx Terminal Benchwork

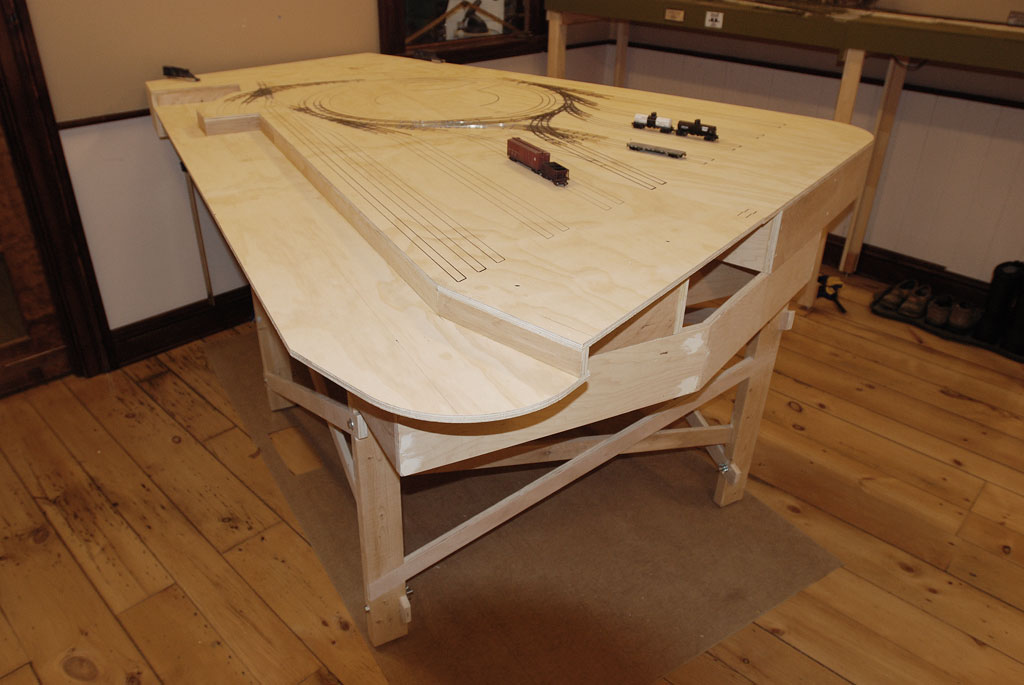
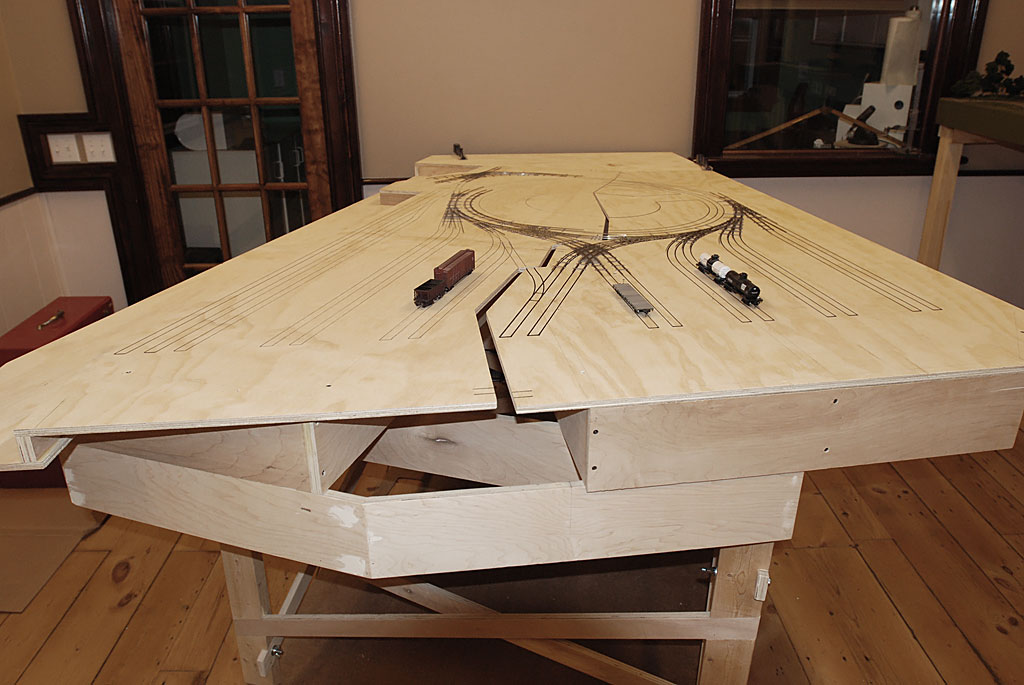
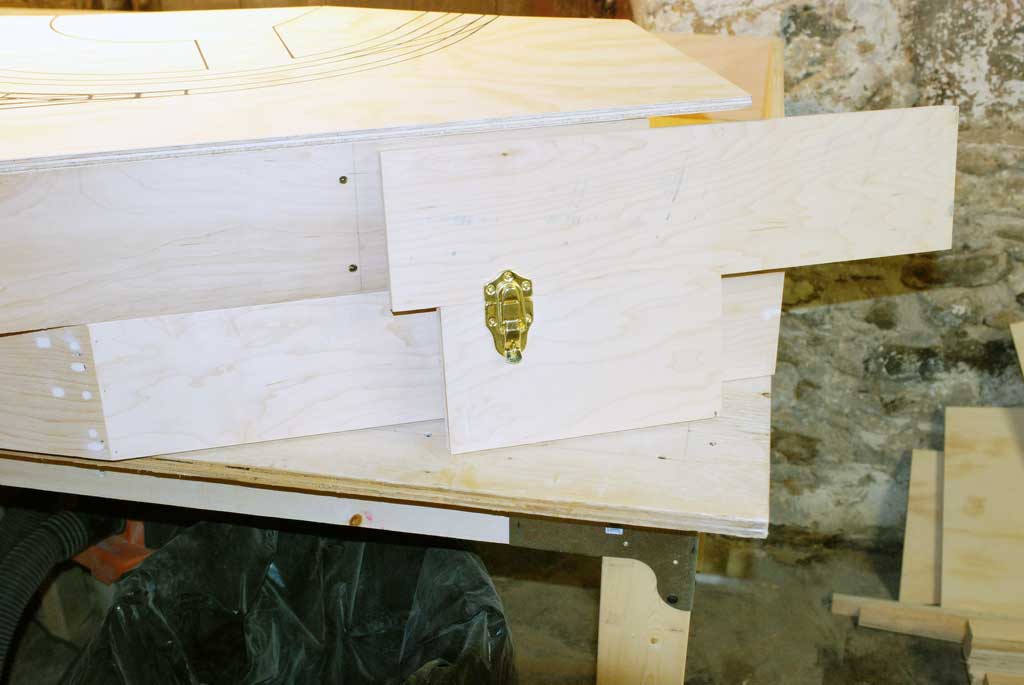
The sections fit together well although I definitely need the alignment clamps to keep the surface flat.

CNJ Bronx Terminal Benchwork

The surface of the water is 2″ below ground level, about 14 1/2′. This is a complete guess based on some prototype images. If it is too low, then its low tide, too high, then its high tide. That should solve that issue.

CNJ Bronx Terminal Benchwork

CNJ Bronx terminal turnout

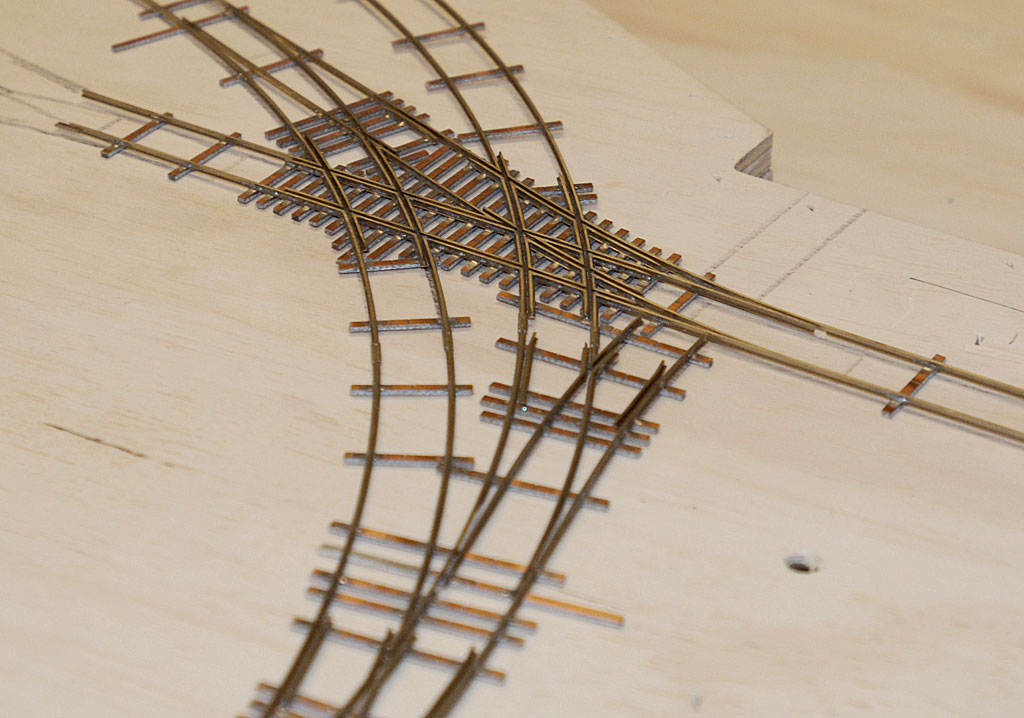
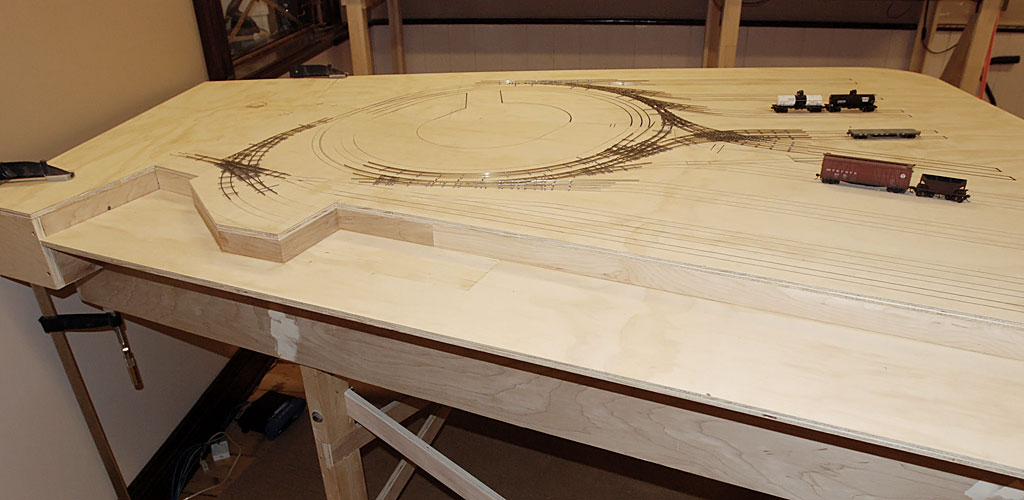
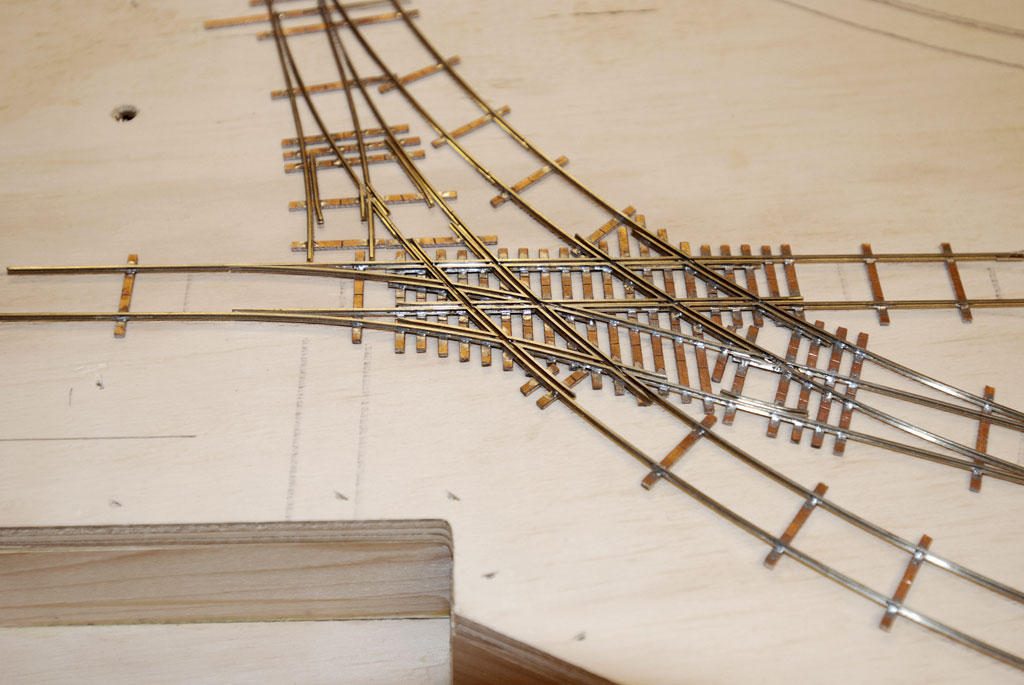
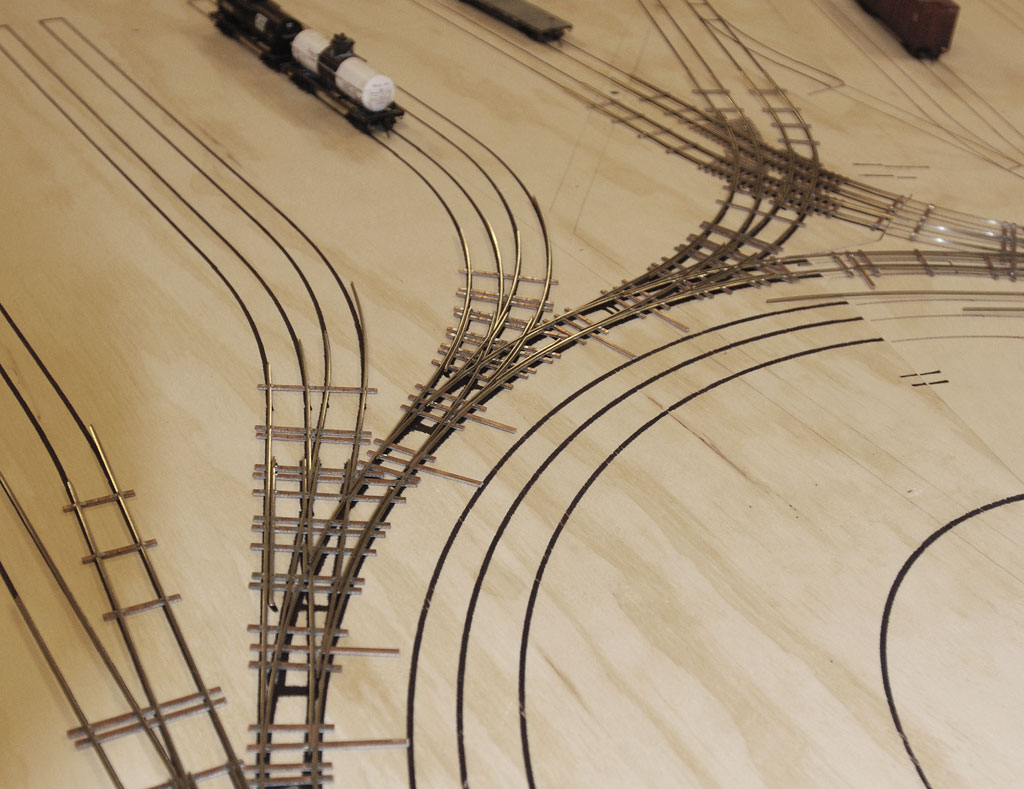
When I had the sections cut for the plywood top cut I also had the track plan drawn onto the sections to help with lining up all the trackwork. The lines on this section are a bit faint, but still work well to get the track in the right location relative to the rest of the terminal.

CNJ Bronx Terminal turnout

three way turnout

chiwawa

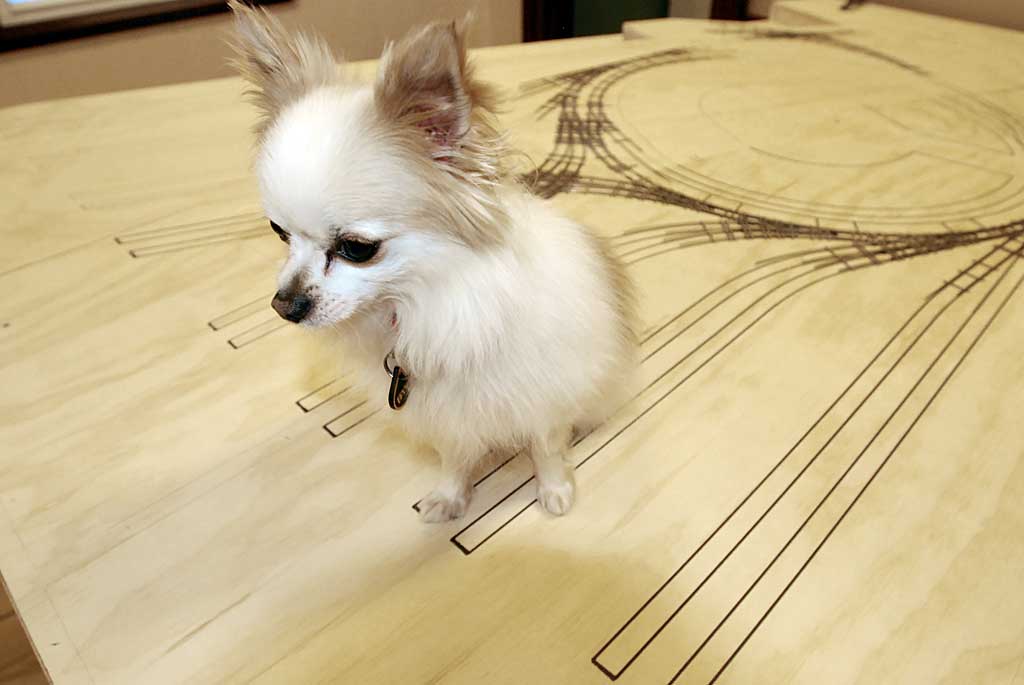
Our dog Bryn giving the benchwork a test. He barked, which I am going to interpret as good review.

On to Next Section

-Tim

About the Author:

I'm your host, Tim Warris, a product developer in Port Dover, Ontario. Since March of 2007 I have been documenting the construction of the former CNJ Bronx Terminal in HO scale. For my day job, I design track building tools for Fast Tracks, a small company I own and operate. Fast Tracks makes it fast and easy to hand lay your own trackwork. Stop by our website to learn more!

Posted by: Tim | 03-23-2008 | 10:03 PM
Posted in: Benchwork Construction | Latest Posts | Comments (5)

Clamps

Test pieces

alignment clip

To keep the top of the layout reliably aligned I felt it needed something bullet proof. I made a set of alignment clips tonight from some 1/4″ aluminum and fastened them to two separate pieces of wood to see how well it will hold. The clips are 2″ long and 1″ wide each. A joiner slides into the clips to keep everything aligned, shown above.

They seem to work well, with the pieces perfectly aligned and very rigid. They are small enough to fit under the layout so I can use several of them where needed.

Toggle clamp

I have decided to upgrade the clamps I will use to join the boxes to the benchwork. Initially I was going to use a “suitcase” type of clamp, but the ones I purchased seem a little weak for the job. I found the type above and ordered a dozen of them. These are much more robust and don’t have any parts that would protrude past the bottom of the box and could possibly get damaged as the brass version I had initially purchased.

clamped.jpg

The rendering above shows the clamps in place to demonstrate how they are to be used to hold the boxes tight to the benchwork. They won’t be on the outside of the boxes on the actual layout, I will mount them inside to keep them from getting bumped when being moved.

On to Next Section

-T

About the Author:

I'm your host, Tim Warris, a product developer in Port Dover, Ontario. Since March of 2007 I have been documenting the construction of the former CNJ Bronx Terminal in HO scale. For my day job, I design track building tools for Fast Tracks, a small company I own and operate. Fast Tracks makes it fast and easy to hand lay your own trackwork. Stop by our website to learn more!

Posted by: Tim | 03-20-2008 | 09:03 PM
Posted in: Benchwork Construction | Latest Posts | Comments (2)

First Box Complete

First Section

CNJ Bronx Terminal Benchwork

With the collapsible benchwork complete I started in on the sections that will sit on it. The first section is complete, but I have not fastened the top down onto it yet, I want to wait until all the boxes are complete to ensure everything will line up properly.

CNJ Bronx Terminal Benchwork

The sides of the benchwork and the boxes are all ripped from 3/4″ cabinet grade plywood, cut to 5 1/2″ high. I chose an extra high side so all the undertable items will fit completely within the box, such as switch machines and wiring. Plus it is plenty rigid, I don’t want this to twist on me. I’m not concerned about weight as the sections will require two people to move them anyway due to their awkward size, so if it weighs 10 pounds or 60 pounds it won’t make a difference.

CNJ Bronx Terminal Benchwork

CNJ Bronx Terminal Benchwork

The boxes will be clipped to the benchwork using several “suitcase” clips at strategic locations. Alignment clips will be made from 1/4″ aluminum and fastened on the bottom of the layout to ensure everything stays in a horizontal plane on the top. I’m still working on the design of those.

CNJ Bronx Terminal Benchwork

CNJ Bronx Terminal Benchwork

With a long weekend approaching I am hoping to get the other two boxes complete and start on the alignment clips.

On to Next Section

-T

About the Author:

I'm your host, Tim Warris, a product developer in Port Dover, Ontario. Since March of 2007 I have been documenting the construction of the former CNJ Bronx Terminal in HO scale. For my day job, I design track building tools for Fast Tracks, a small company I own and operate. Fast Tracks makes it fast and easy to hand lay your own trackwork. Stop by our website to learn more!

Posted by: Tim | 03-20-2008 | 10:03 AM
Posted in: Benchwork Construction | Latest Posts | Comments (2)

« Previous Entries   Next Entries »