Building The Engine House
Designing and Building the First Structure for the Layout
Its been a reasonable amount of time since I worked on the layout, long enough to restore the creative juices, so I decided to start a new project, the Engine House.
This is a nice little project, not as much of a job as the freight house will be, so I figured it would be a realistic one to take on right now, plus I wanted to get something new added to the layout before the Doubleheaders Layout Tour, which was on Saturday (yesterday).
The engine house at the terminal was an interesting structure as there wasn’t enough space to cram it into the yard, so it was built hanging over the Harlem River.
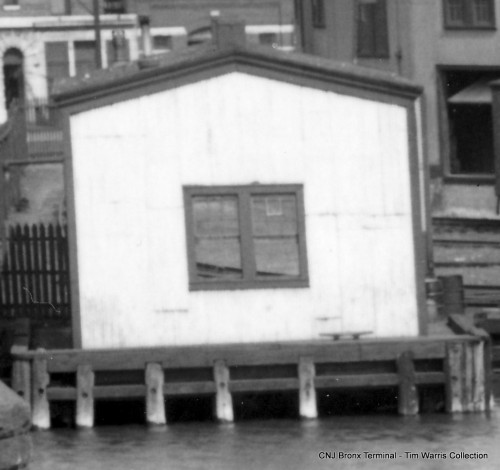
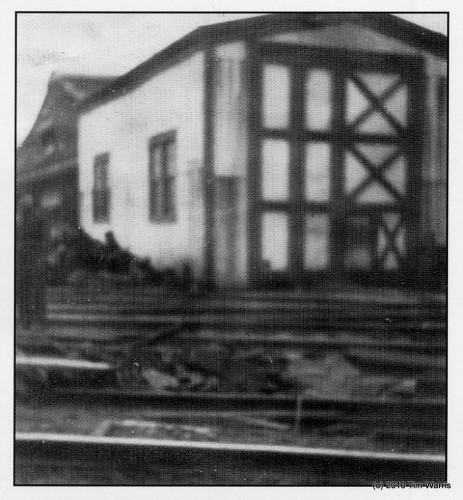
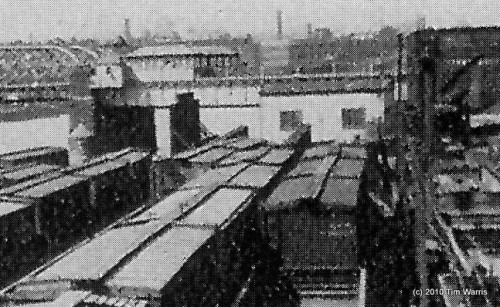
In my collection of images, I only have 3 that show the engine house, which was torn down in the early 50’s. Fortunately there was enough information on those 3 images to complete the design.
A good shot of the rear of the building, sitting on piles over the river.
This is a great, and rare, shot showing the front of the structure, scanned from a 1928 issue of Railway Engineering magazine. The mis-matched doors are an interesting detail, no idea why they were this way. I am assuming that is a man door on the right hand door, at least, that is what I put in my version. Either this shot, or the one before it, is a bit distorted. In this image the building looks quite tall, the other, it is almost square. I had to play with the proportions a bit to get what I thought was the right compromise. Thank goodness for parametrically driven, 3D solid modeling software…
Another grainy scan from an old magazine article from the 1920’s. This is a good side view of the structure. Not much detail can be seen from it.
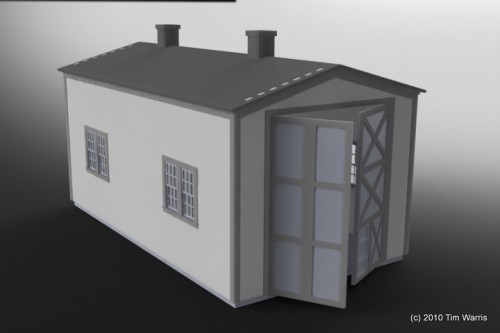
After playing for a while I settled on a structure that was 43′ long x 24′ wide x 19′ high. Seemed to look right.
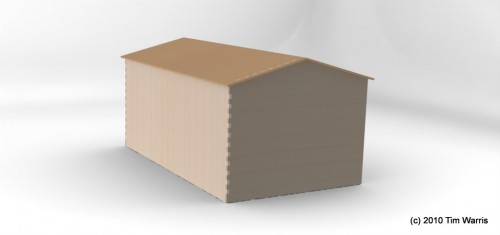
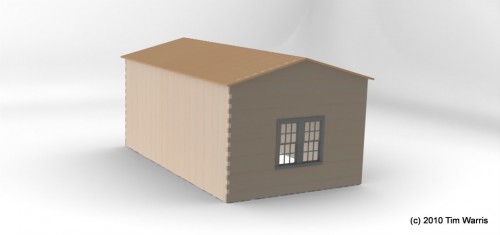
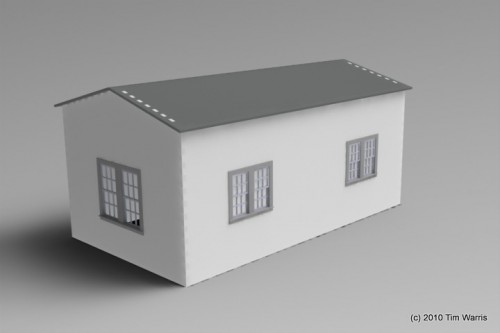
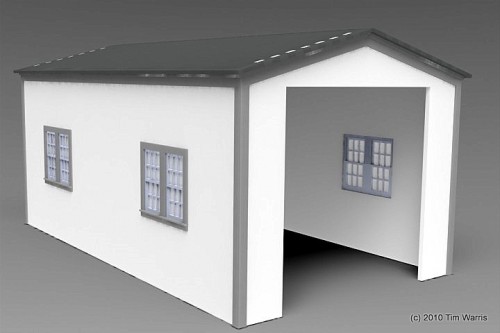
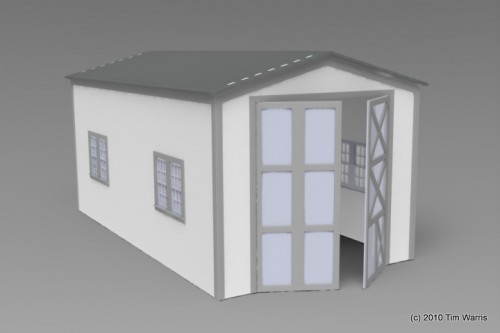
Since this building will be entirely laser cut, I had to do a through design in CAD first. I prefer to do all design work in full 3D even though it takes significantly longer than if I just did it in 2D. The advantage of 3D design is that it does allow for a clearer idea of what the final design will look like. And if designed properly, assigning the right relationships to dimensions, changes can be made downstream that will allow the entire design to be updated with a simple input of a number. For example, after the complete design was done, I wanted the building to be 2 scale feet higher, all it takes is changing the height dimension and the entire model updates. Sounds simple, but it takes years of working with the software to get to that point.
Test renderings of the building as I progressed through the design process. I worked on this off and on for about 3 days. Probably 10-12 hours of design time into it.
I did a screen capture of some of the process, adding trim to the model. Its very thrilling to watch….
I had the design complete and prepared all the necessary files for the laser cutter late Thursday evening. While cutting it all out, I decided to video some of it. Its very thrilling to watch….
With the parts all cut out, that left me one day to get the structure built if I wanted to be able to add it to the layout before the tour.
Building The Model
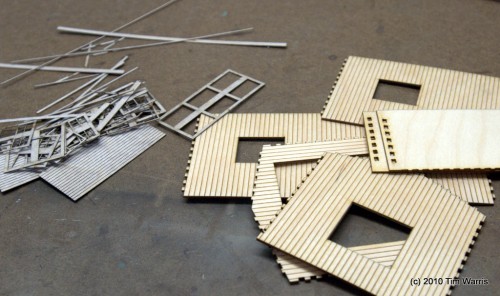
Friday morning, parts in a pile. I’ll I have to do is arrange them into the shape of an engine house.
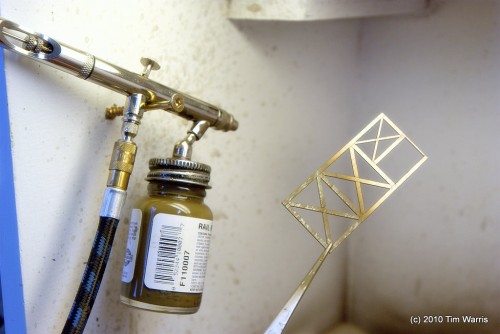
First up, painting all the parts. I airbrushed all the trim with what looks like Rail Brown if I read the label in the picture correctly.
Windows all painted, trim next.
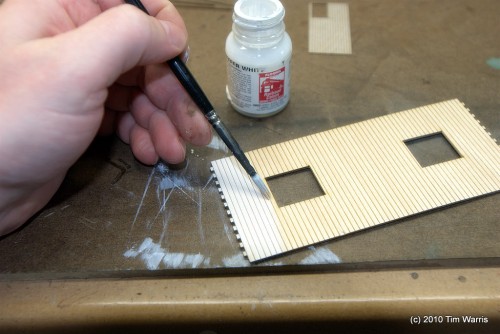
All the walls given a light coat of white.
The trim is a nice contrast on the white back.
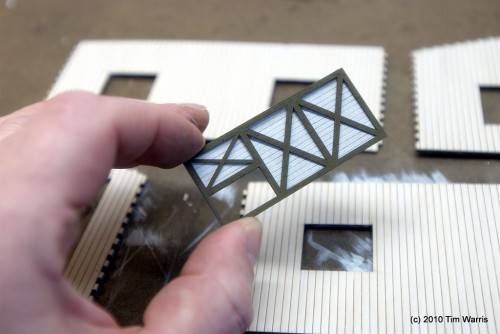
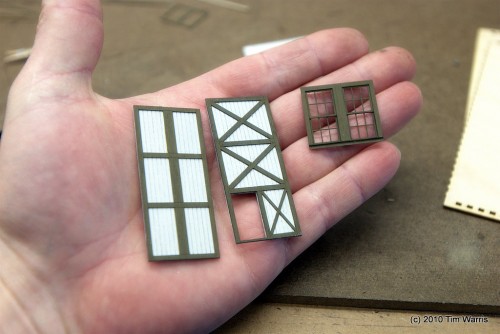
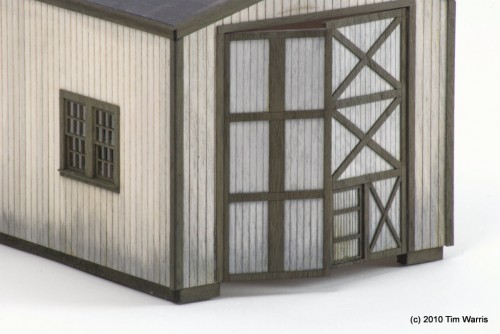
Doors built up, and one window. The windows are made from 5 separate pieces. I like the freedom of being able to design the windows needed for a specific structure, but find the process of building them very tedious!
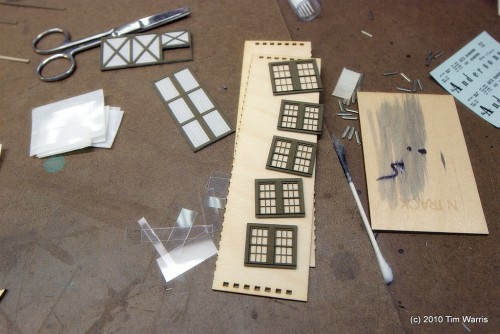
All five windows built up. Five seems to be about my limit for window building in a single sitting! Don’t know how I’m going to make it through that freight house project with all its windows and doors….
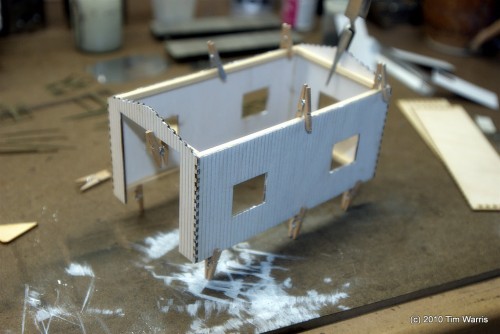
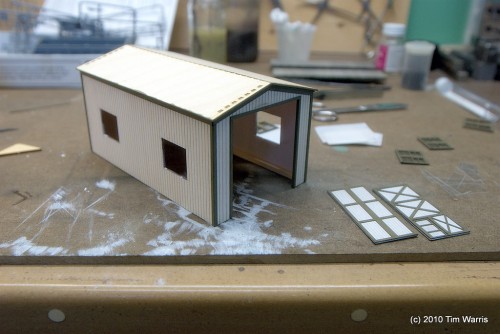
Main structure built up with some re-enforcing inside to keep it all flat and straight. The walls are all tabbed to allow it to fit together tightly.
Trim added, roof in place. Just need to add the doors and windows. About 5 hours into the build at this point.
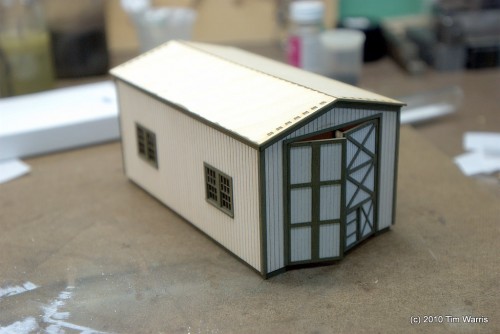
Windows and doors in. I played with the idea of making the doors open and close but decided to just glue them in place for now. If I make them open and close, I would need to add interior details and there wasn’t enough time for that. Perhaps later.
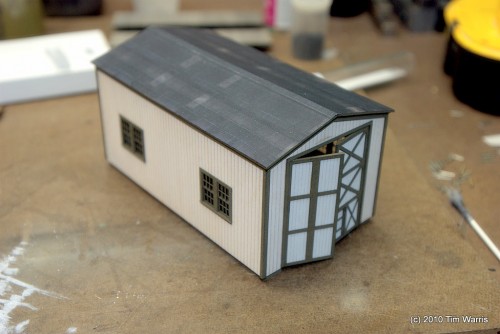
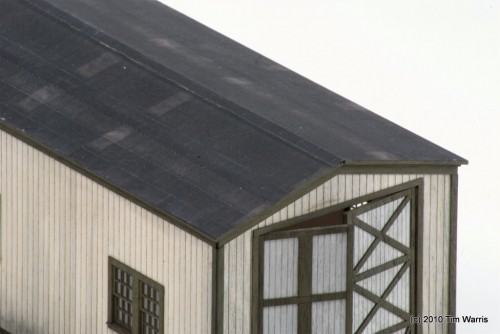
Roofing material added. This is the first time I tried using printed roofing, and I think it looks pretty good. It was self adhesive, which made this step go very fast. 5 minutes instead of the tedious half a day it usually takes, and looks far better. There was quite a sheen on the material, so I have it a shot of Dullcote, which knocked that down nicely.
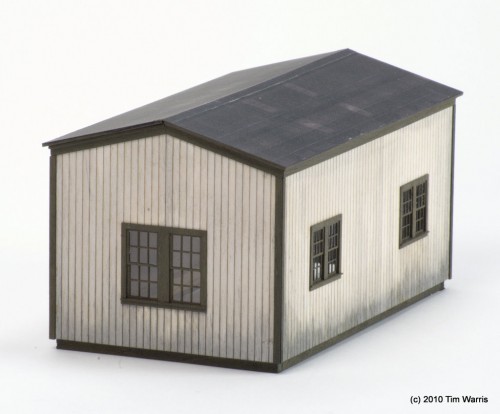
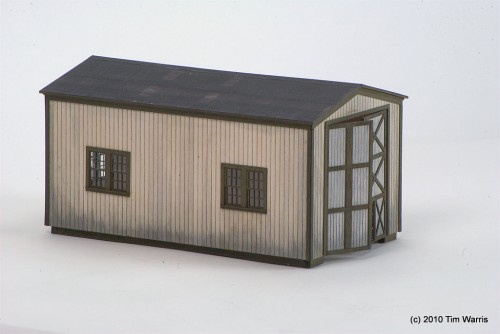
Some final weathering added to the structure and it is mostly complete! I say mostly because there are still some details missing such as the chimneys and the base with piles that the structure sat on over the river.
The weathering was done using leather dye diluted with alcohol. I coated the side of the wall with pure alcohol first then added the mixture to the bottom of the walls allowing it to wick up into the wet surface. This simulates staining near the bottom of the walls nicely.
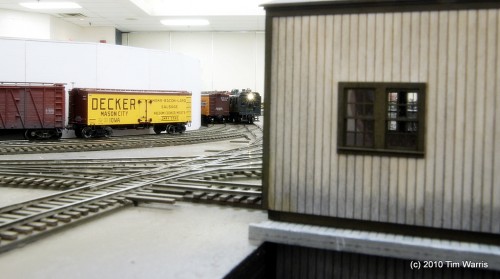
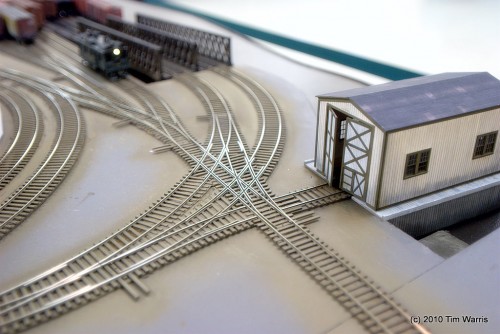
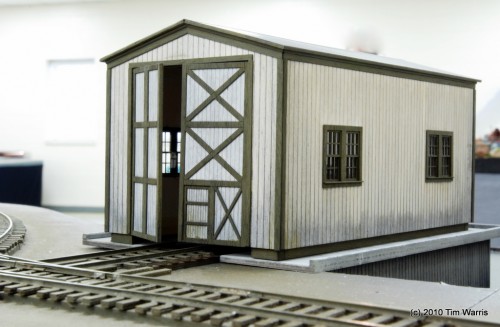
Sitting in place on the layout. Fits right in nicely!
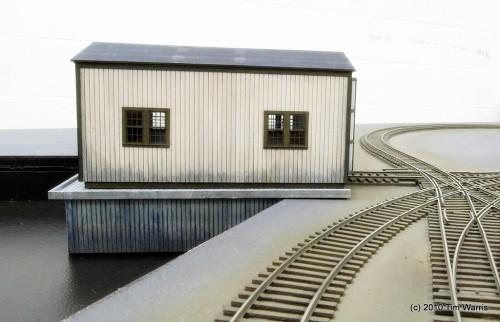
I made a quick base for it to sit on, but this will be changed to piles later.
I often hear from modelers how great it must be to have a laser cutter, and well, it is! However, it doesn’t make the process of building models any faster, in fact it is much, much slower. To design a structure, with all the nuances of design, it takes a LOT of time. Far more than most people imagine. The advantage of the laser is that the parts produced, once the design is complete and tested and tested and tested, are very precise and go together easily. The finished models always look pretty good, if the design is done correctly. But it is by no means an easier or quicker way to get a model, just more precise.
I did manage to get the model built in time, finishing around 4 in the afternoon. The layout was loaded into the van and around 9 I built the temporary base for it to sit on.
The model reeked of paint all during the layout tour.
About the Author:
I'm your host, Tim Warris, a product developer in Port Dover, Ontario. Since March of 2007 I have been documenting the construction of the former CNJ Bronx Terminal in HO scale. For my day job, I design track building tools for Fast Tracks, a small company I own and operate. Fast Tracks makes it fast and easy to hand lay your own trackwork. Stop by our website to learn more!
Posted by: Tim | 03-28-2010 | 01:03 PM
Posted in: Engine House | Latest Posts | Comments (24)
