Home

Paint jar storage.

Drawer insert.

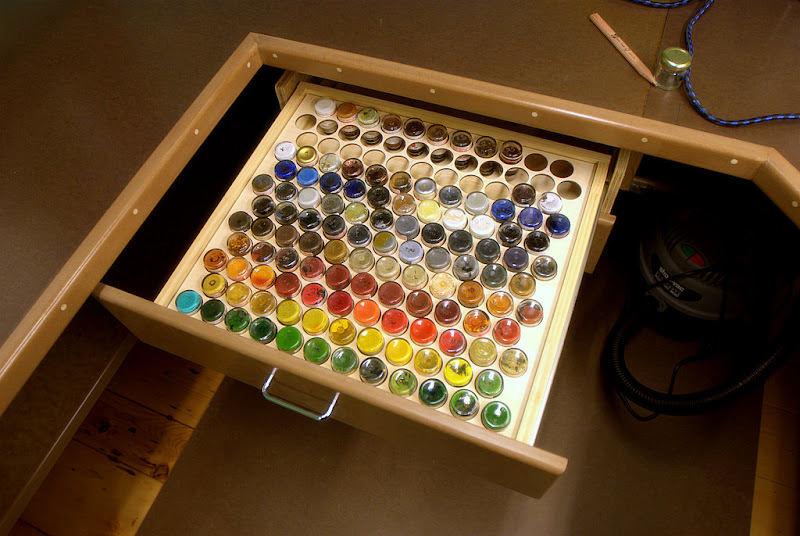
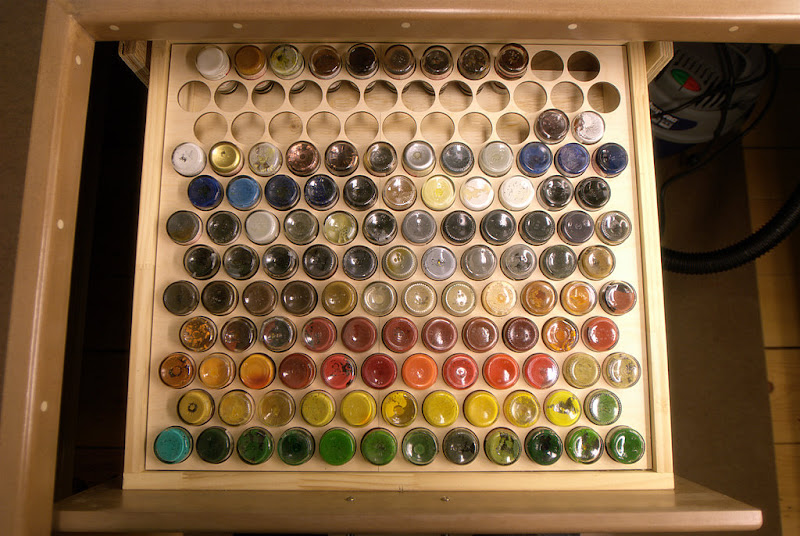
My last bench had space for about 30 jars of paint placed on a small shelf at the back of the bench. I quickly overwhelmed this space with about 100 jars of Floquil paint. I prefer Floquil paint and snap them up whenever I find them at a good deal so this has lead to quite a pile of jars. The paint jars took up quite a bit of space on the bench so I decided this time to make a drawer dedicated for the paints. Not wanting them sliding all over the place when the drawer is opened and closed I make a divider to hold the jars steady.

DSC_4488.jpgPaint Jar Holder 2.jpgDSC_4491.jpgDSC_4495.jpg

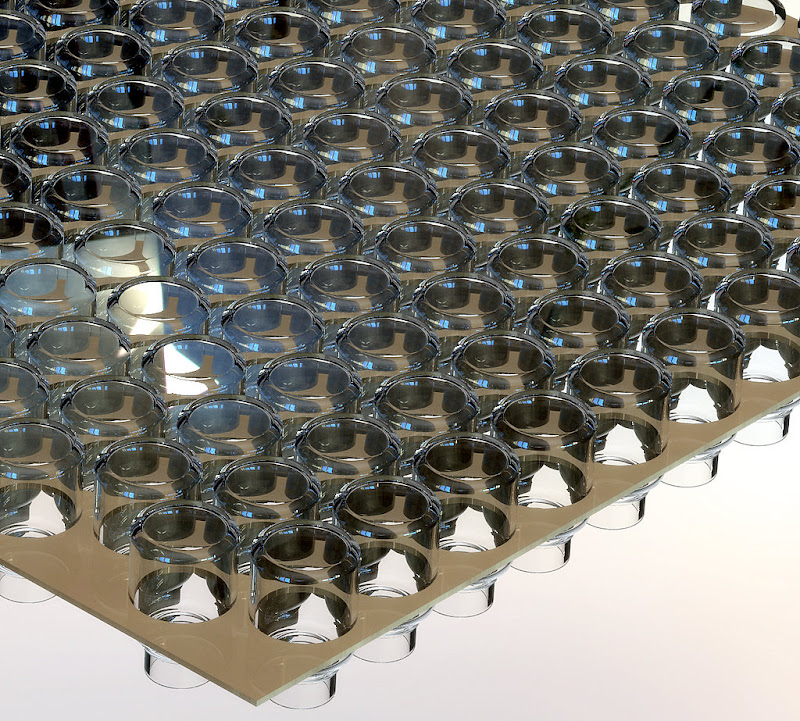
I cut the divider from two layers of 2mm plywood (the same wood we use for HO scale QuickSticks). It sits on 1/2″ rails 2″ high and has 1.5″ diameter holes patterned as tightly as possible to fit a maximum amount of jars.

I drew it all up with our CAD system to help layout the patterns and did a quick rendering for no reason at all. The image with all the inverted clear jars is completely computer generated.

I keep the paint jars stored upside down for a couple of reasons, mainly so I can quickly identify the paint colour. One advantage of keeping them inverted is that they never dry out this way, I have some jars that are over 10 years old and are still and good as new.

-Tim

About the Author:

I'm your host, Tim Warris, a product developer in Port Dover, Ontario. Since March of 2007 I have been documenting the construction of the former CNJ Bronx Terminal in HO scale. For my day job, I design track building tools for Fast Tracks, a small company I own and operate. Fast Tracks makes it fast and easy to hand lay your own trackwork. Stop by our website to learn more!

Posted by: Tim | 12-16-2007 | 10:12 AM
Posted in: Latest Posts | Work Bench | Comments Off on Paint jar storage.
LaSalette CASO Freemo Module

Another project…

DSC_4440.jpgDSC_4445.jpg

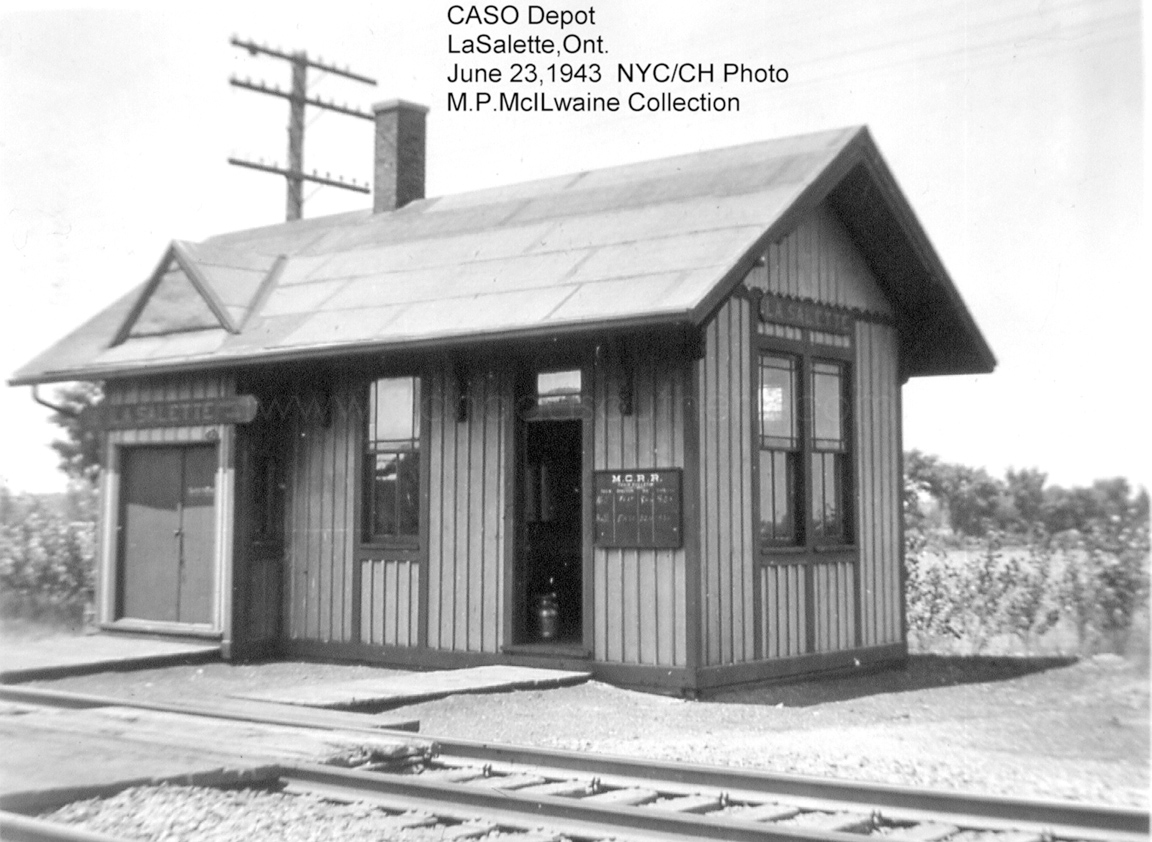
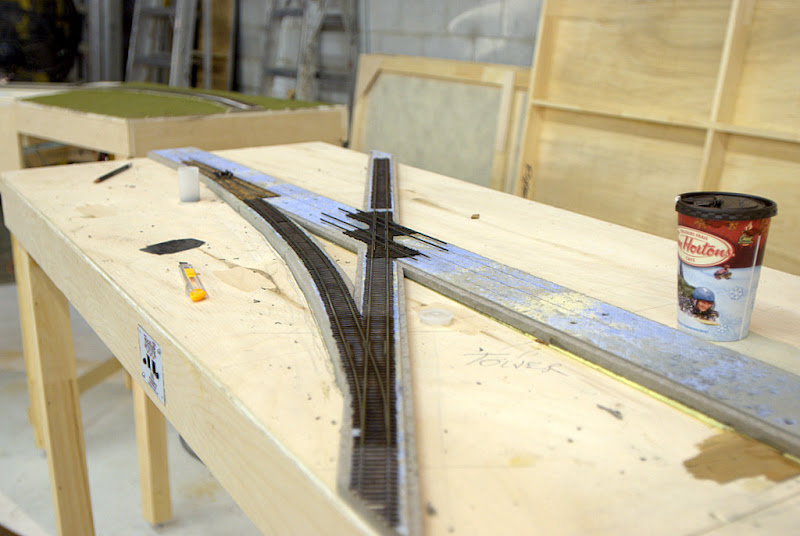
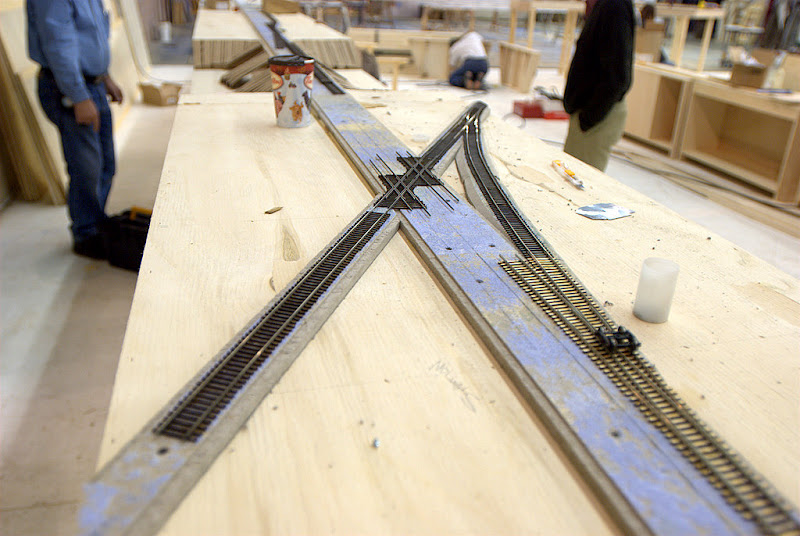
A few weeks ago I was invited to join a group of local modelers who are building a Freemo modular layout of the Canada Southern (CASO) railway. The section I was asked to build was LaSalette, a small town a bike ride north of Delhi, where I grew up. Unfortunately I don’t remember much of the railroad that ran though there so I am at the mercy of the well versed members of the club. What intrigued me most was the junction between the CASO and the Grand Truck Railroad, which crossed the double track mainline on its way to Port Dover. The 30 degree double diamond and the interchange could all be fit onto a 5′ module, along with the LaSalette station and interlocking tower it should make for some interesting modeling.

By the time I came into the project they were already well into the build. All the modules were built so all I had to do is start in on the trackwork. I am sill playing a bit of catchup so I can not really speak with any authority about the direction of the layout as a whole, or even recall the names of the members…

We did a build session last weekend in London and I took a few shots of the progress…

Read More »

About the Author:

I'm your host, Tim Warris, a product developer in Port Dover, Ontario. Since March of 2007 I have been documenting the construction of the former CNJ Bronx Terminal in HO scale. For my day job, I design track building tools for Fast Tracks, a small company I own and operate. Fast Tracks makes it fast and easy to hand lay your own trackwork. Stop by our website to learn more!

Posted by: Tim | 12-11-2007 | 11:12 PM
Posted in: LaSalette Freemo Module | Latest Posts | Comments Off on LaSalette CASO Freemo Module

Final bits and pieces.

Almost ready to mess up!

click on images for larger versions….

DSC_4455.jpg

DSC_4450.jpg

DSC_4446.jpg

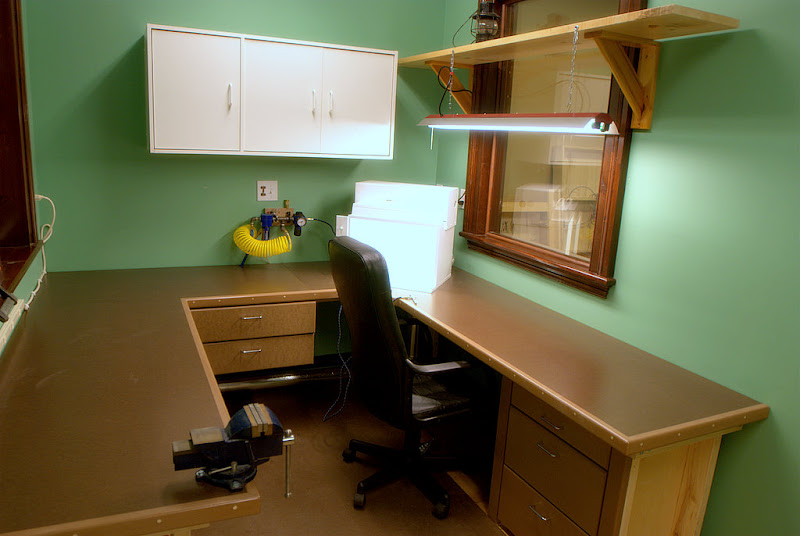
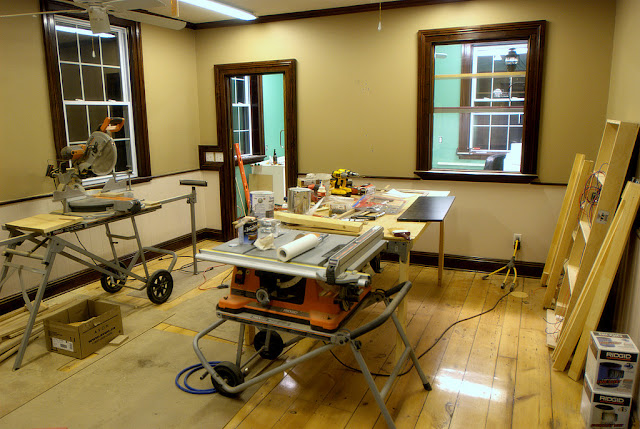
Spent the day finishing up the final details of the workbench. I installed the air regulators for the air brush and for a compressed air nozzle, this also includes a water trap. The compressor is in the basement under the shop. The spray booth has also been installed and is vented directly outside via the basement. I gave it a fresh coat of white paint to cover over the last few years of spray painting. I had the light on inside it for the pictures so it looks brighter than the sun in the shots.

An additional light was hung from a shelf, this will help illuminate the work area with fluorescent light, which seems to cast the best light for working under, very little shadows and fills in the area with light well.

With the major work on the bench complete all that is left is to unpack all my tools and supplies, which is a shame as the workbench will never look like this again. I am, after all, a slob.

-Tim


About the Author:

I'm your host, Tim Warris, a product developer in Port Dover, Ontario. Since March of 2007 I have been documenting the construction of the former CNJ Bronx Terminal in HO scale. For my day job, I design track building tools for Fast Tracks, a small company I own and operate. Fast Tracks makes it fast and easy to hand lay your own trackwork. Stop by our website to learn more!

Posted by: Tim | 12-09-2007 | 10:12 PM
Posted in: Latest Posts | Work Bench | Comments (3)

« Previous Entries   Next Entries »