Weathing the Carfloat
Getting dirty
Since I am damn near crippled from the weekends work, I decided to take the evening off from home renovation fun and work on the carfloat a bit.
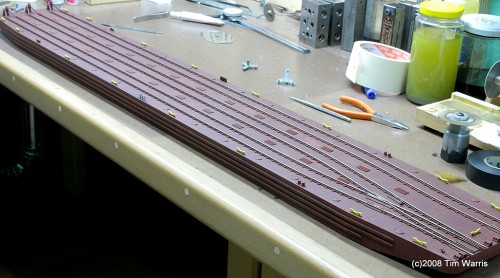
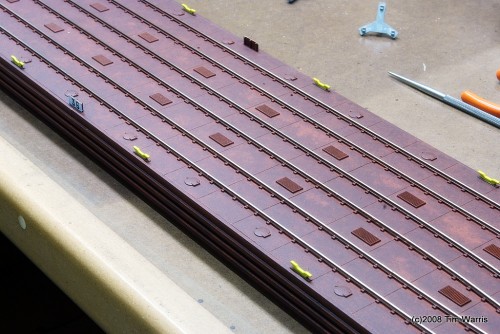
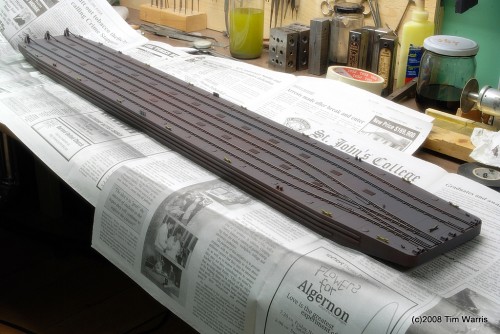
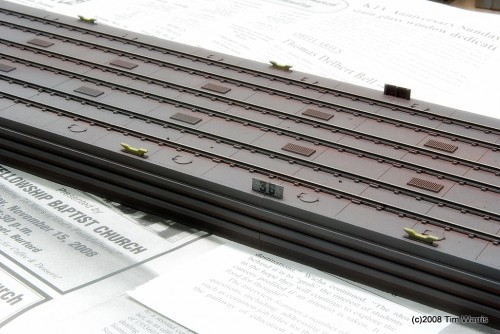
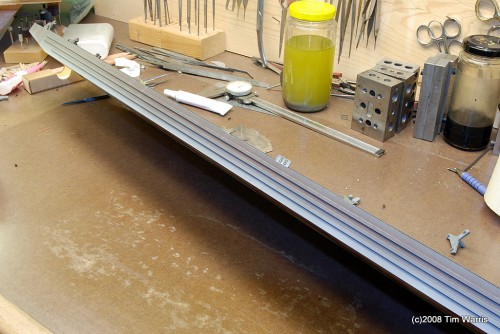
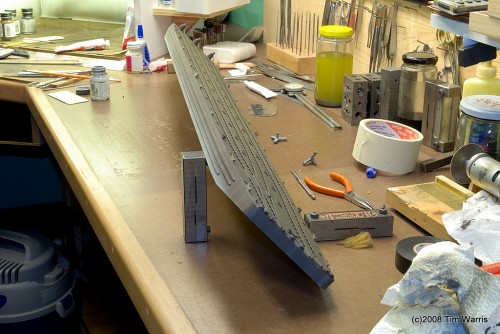
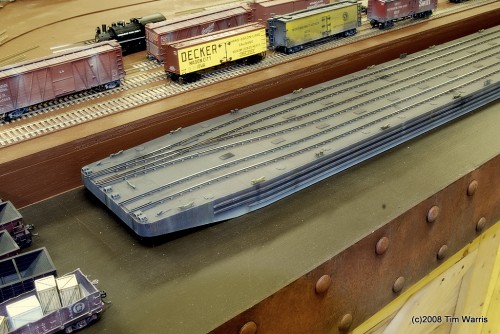
I wasn’t happy with the colour of the carfloat. It looked too red for my tastes. The only time it might have looked that way was if it was painted with a fresh coat of red oxide primer. I don’t think it would have rusted to a reddish colour while still in use. After a few years of sitting in salt water it might have taken on a red colour, but while being used it would have been almost black. So out came the airbrush!
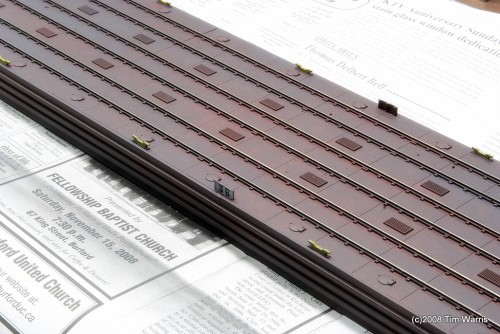
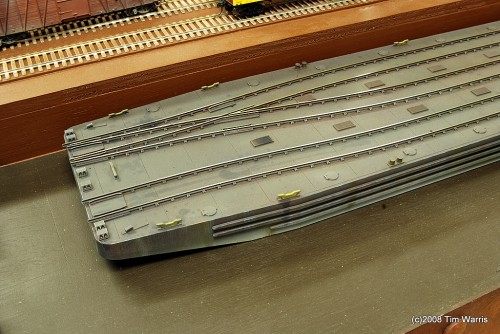
See, too red. And a bit blotchy too. I painted the things they attach ropes to. What are they called? Rope things. Cleats (I knew that, it was right on the tip of my tongue, it was late. Thanks Pierre) Anyway, I hand painted them yellow. I also added the number decals, I wanted to get this step finished before weathering so it would all blend properly.
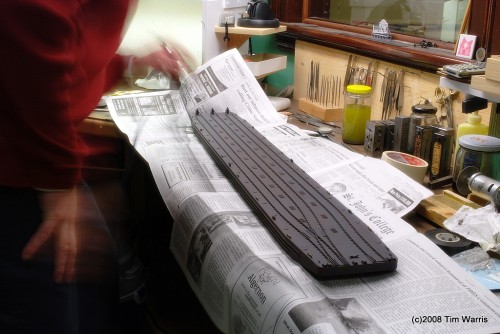
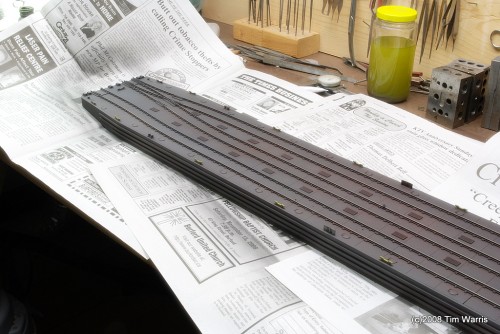
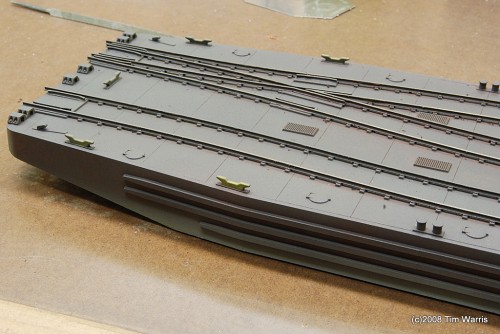
I started by misting the entire float with some Floquil Grimy Black, that’s me in the blur.
It is already starting to look better.
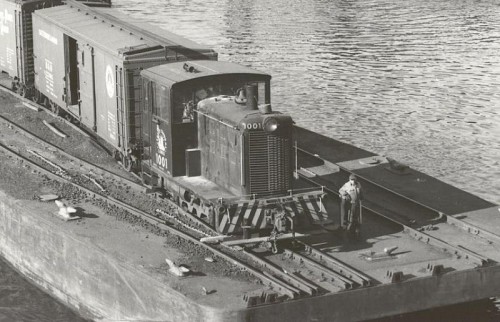
Next, I used some light grey (UP Harbor Mist Grey, Floquil) to create a lighter area along the waterline. Being exposed to salt water left the waterline with a lighter colour. I’m working from this image…
Notice the ligher area at the waterline? I like that gravel all over the deck too, will add that later.
Next, I added some vertical streaking on the side of the hull. This was done using a light gray paint drybrushed on. A light touch that adds quite a bit of detail.
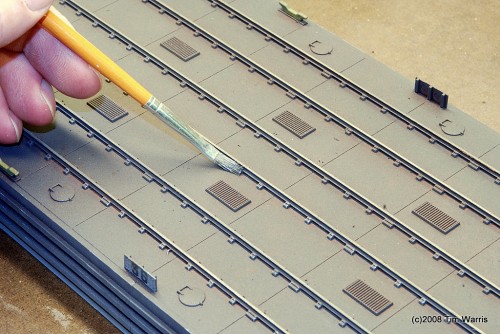
Taking a page from military modelers, I like to drybrush all raised details with a light gray. Done conservatively this helps the details jump out quite a bit.
Using some black leather dye diluted with rubbing alcohol I randomly splashed some spots to represent various oil stains. Subtly is the key here.
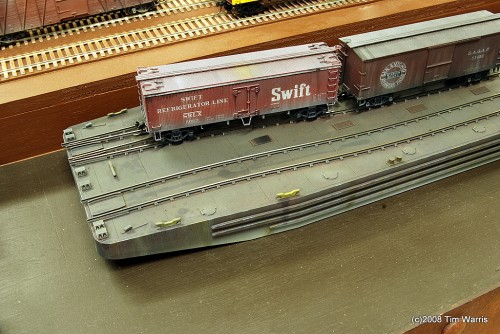
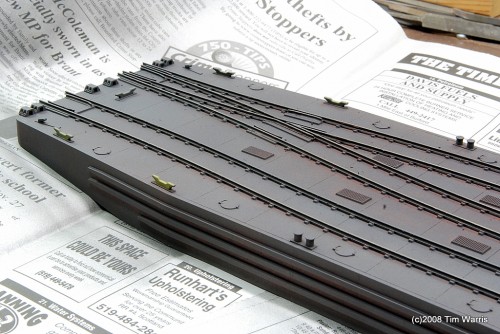
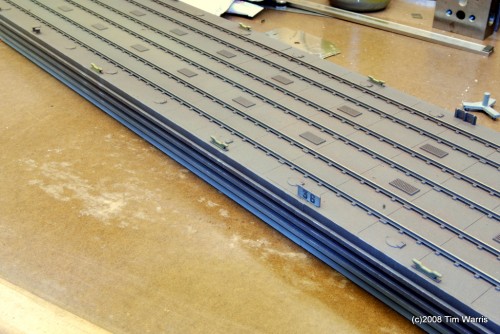
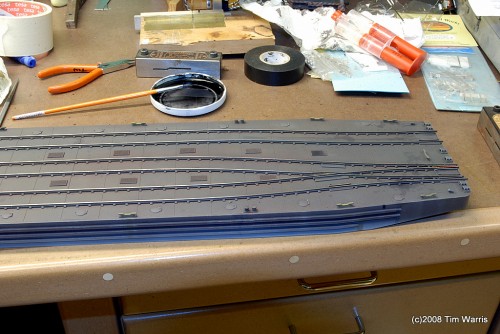
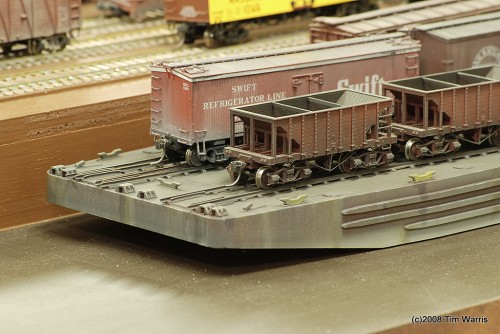
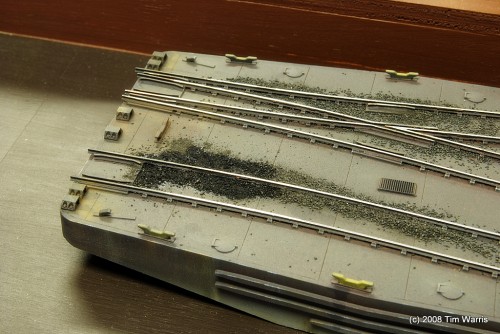
The bulk of the weathering complete. Keep in mind that the light in the layout room is crap. On my list of things to fix. Getting accurate colours in photos has been a challenge. This is pretty close though, but I think it looks better in person.
Needs water.
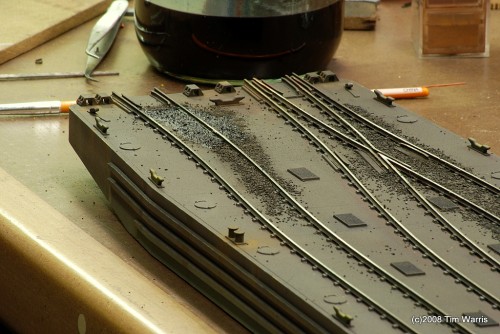
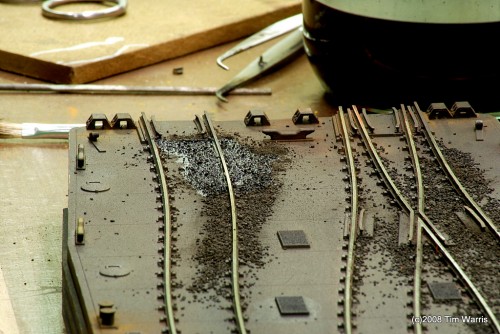
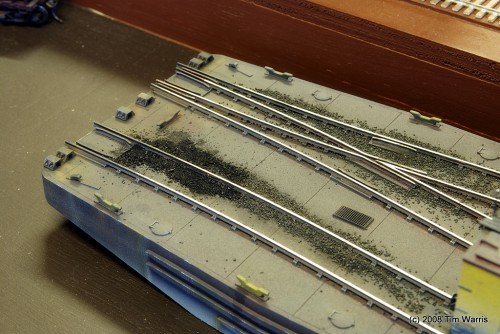
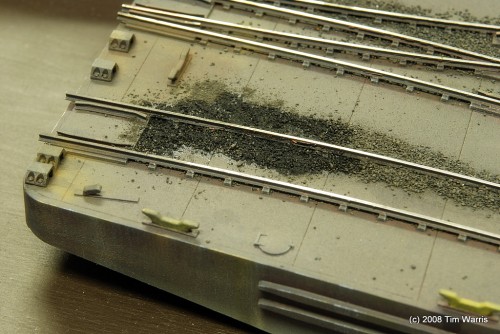
I added some gravel to the deck to simulate what I observed in the prototype image above. Before getting too carried away I thought I would do a small area to confirm that once glued in place it will look right. I am a bit concerned that the glue will leech onto the deck creating a big shiny spot.
Will let the glue dry overnight and see how it looks. If it is acceptable I will add lots more next time I am working on the float.
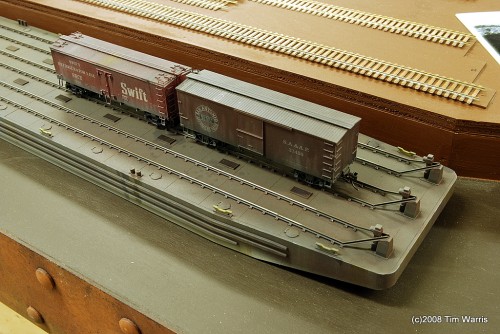
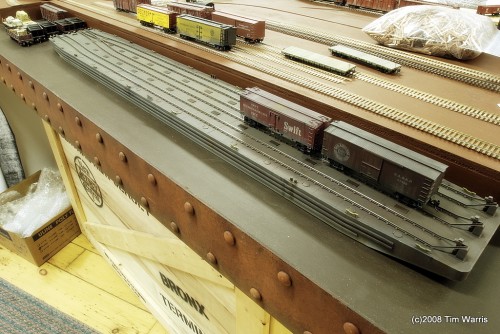
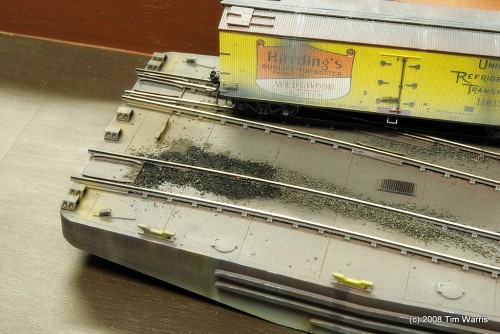
I like these results much better. The floats should look pretty good as they are a focal point of the layout. Especially when that is all that is finished! (so far)
-T.
Update – The Next Morning
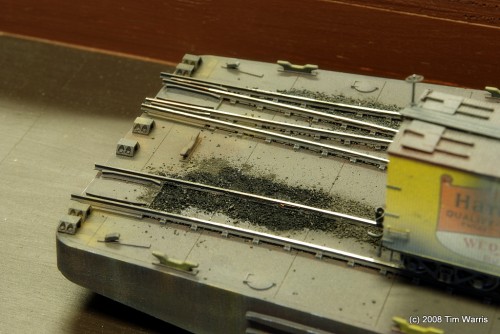
After drying overnight the glue used on the deck gravel dried clear without being noticeable at all. I really like the look of the spilled gravel and coal on the deck, so I will go ahead and glue it all in place.
The colour of the gravel/coal that has been glued in place is darkened by the glue, but that isn’t much of a problem.
-T.
On to Next Section
About the Author:
I'm your host, Tim Warris, a product developer in Port Dover, Ontario. Since March of 2007 I have been documenting the construction of the former CNJ Bronx Terminal in HO scale. For my day job, I design track building tools for Fast Tracks, a small company I own and operate. Fast Tracks makes it fast and easy to hand lay your own trackwork. Stop by our website to learn more!
Posted by: Tim | 12-02-2008 | 12:12 AM
Posted in: Latest Posts | Comments (12)
