Building the Bronx.
Finally.
Four years ago I sold a locomotive I no longer wanted, and with the extra cash I decided to buy something I normally wouldn’t. I went down to the local hobby shop and bought a book that caught my eye, “Where the Rails Meet the Sea”. Mainly due to a picture of a very interesting freight terminal that was once in New York.
The more I studied it the more intrigued I became with it (ok, maybe obsessed). The complex trackwork was hard to believe! An entire rail yard, freight house, car ferry and engine house in about 1 acre.
I had to build it. Fortunately for me online there was a pretty good track diagram of it, but little else. I studied the track plan for quite some time and decided to re-draw it accurately in CAD.

Building the trackwork would be an extremely difficult task. Possible, but likely well beyond my skills. For a while I had been tossing around the idea of making a fixture to assemble turnouts at the workbench, and thought this approach might work well for something like this.
I spent a bit of time contemplating how to make a fixture and worked out some of the details to manufacture a prototype. I did a few test tries on some scrap wood.
The initial tests worked quite well, and I built a few #6 turnouts with it. I was quite impressed myself, and decided to use the fixture to build turnouts for my Port Kelsey which I was just getting started on. Well to make a long story short, a few people spotted the fixtures and wanted one for themselves. Ron, my brother also saw an opportunity with them and offered to bring them to market online. And Fast Tracks was born.
Four years has gone by and still no Bronx Terminal. Until now.
I don’t have much in the way of an overall image of the terminal. I do have one, but it is packed in a box somewhere as I still haven’t unpacked all my model railroad stuff after our latest move. Once I locate it I will post it on the site. For now, you will have to refer to the track plan. Tonight I completed the first piece of the Bronx puzzle, the triple lapped turnouts at the engine house end of the facility. This is on the lower left hand side of the drawing. The three lapped turnouts are the most complex portion of the trackwork, and I should have started with something simpler, but I was looking for a challenge.
Update – Image found

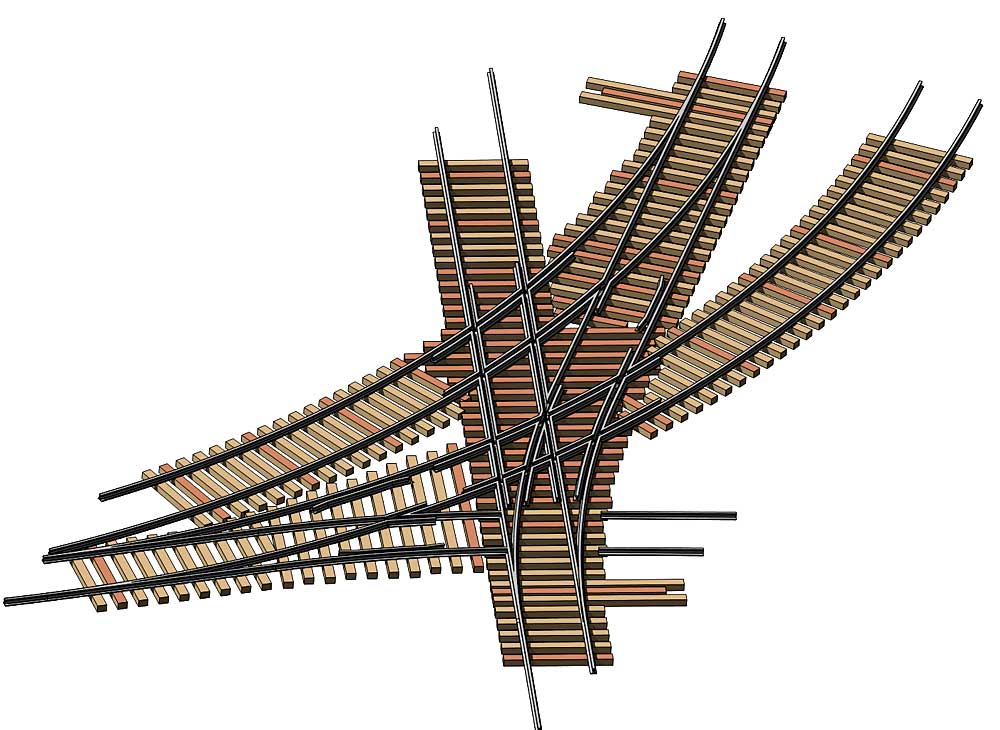
Below is a 3D model I made of the portion of track I started with…

Image Copyright (c) 2007 Tim Warris
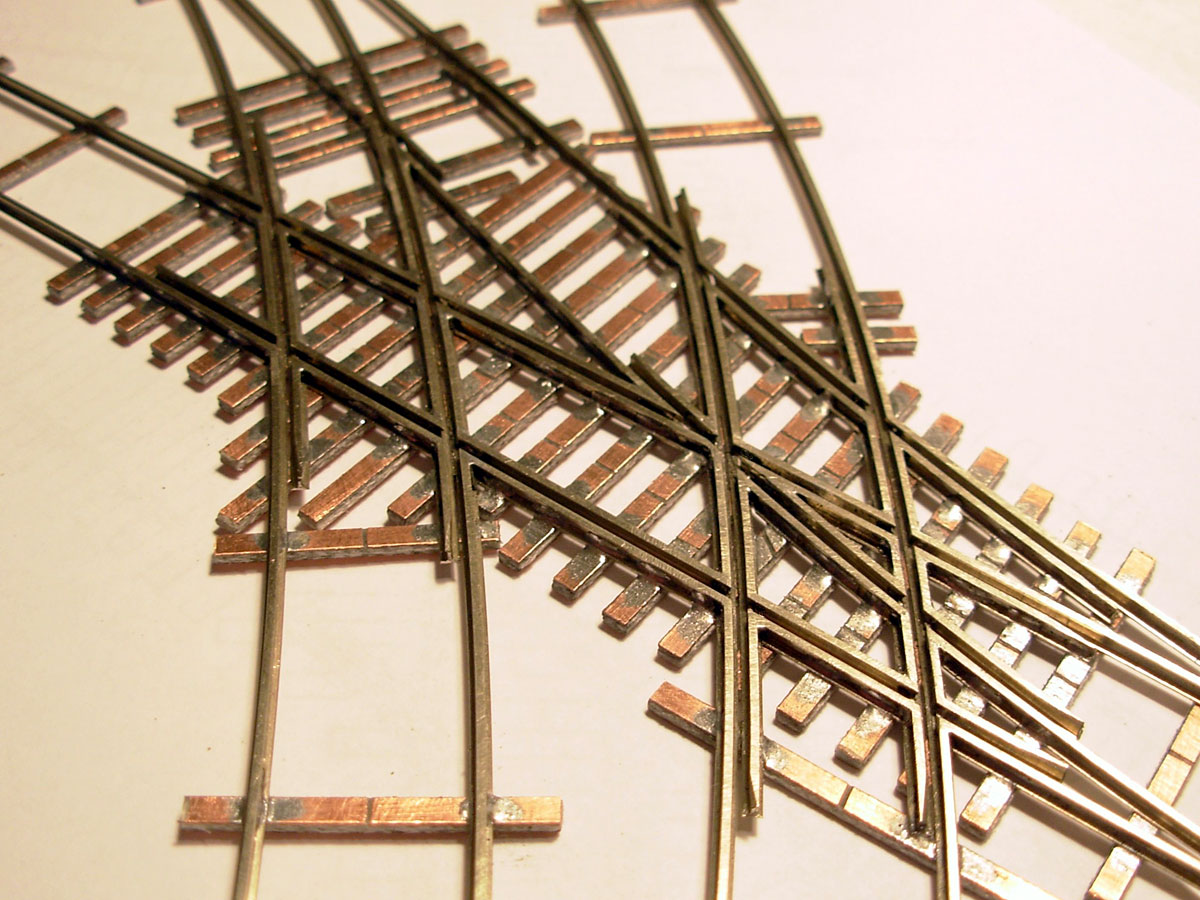
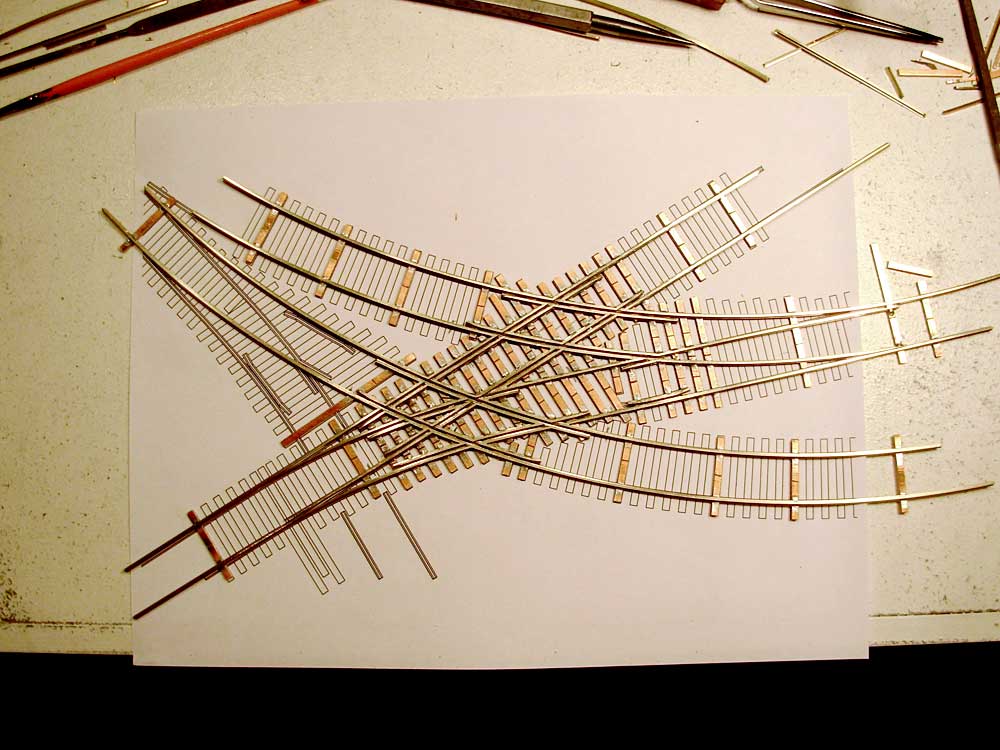
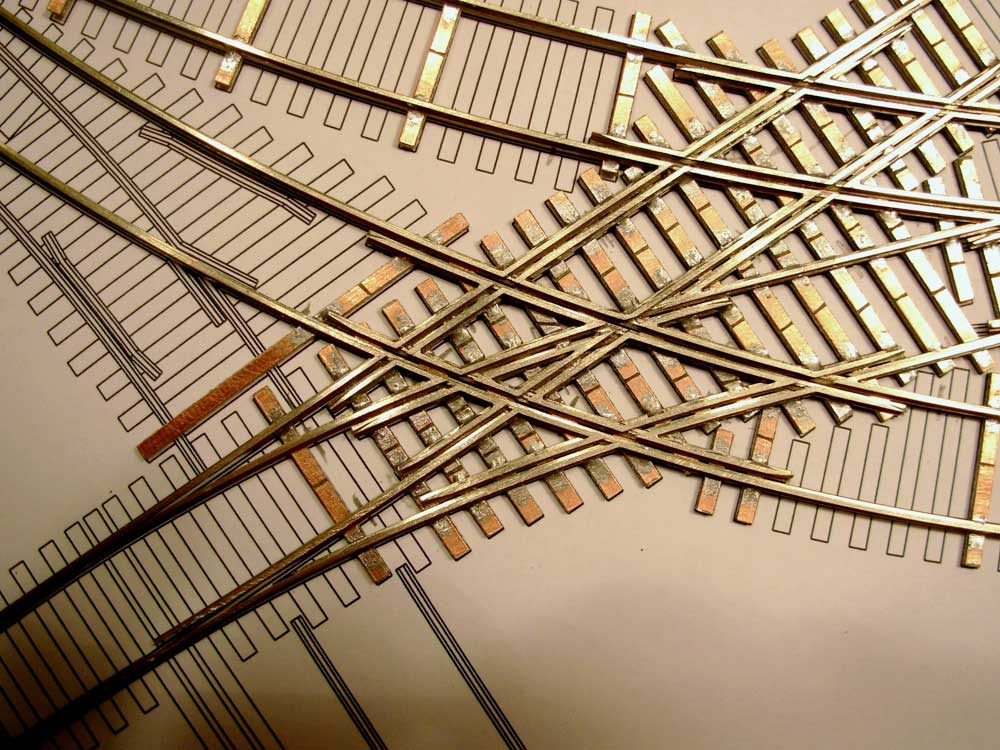
and the completed trackwork…

Image Copyright (c) 2007 Tim Warris
Here is a shot of the real thing.

If you look closely at the image above two rails can be seen protruding from the right side of the lower turnout. These rails led into the engine house and never actually crossed through the turnout, they crossed over it. To get to the engine house the crew had to lay steel rail across the top of the turnout, and drive over it! I am not making this up, they actually did this for decades. If you look close, a support can be seen in the middle of the turnout for the rails. The portable rails can be seen on the lower right side of the image.
If you look closely at the lower left front of the engine in the large version of this picture below (click on the picture) the engine is sitting on these pieces of rail on top of the turnout.


Image Copyright (c) 2007 Tim Warris
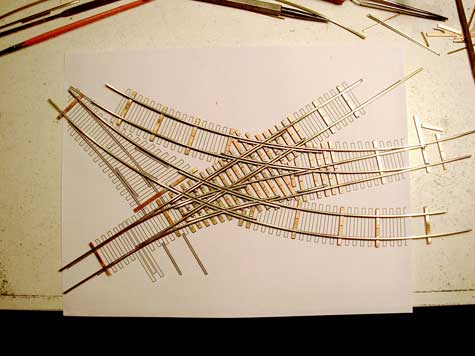
Image Copyright (c) 2007 Tim Warris

Image Copyright (c) 2007 Tim Warris
Here is a short video showing a set of wheels rolling through the complex trackwork. It operates extremely smooth, I am very excited with how it turned out and am looking forward to the next piece of the Bronx puzzle. Click on the right facing black arrow to start the video.
On to Next Section
Update – Nov. 25, 2008
Construction Posts Index
Since there are lots of posts on this blog that are not necessarily related to the building of the CNJ Bronx Terminal, relevant posts about just construction can be tricky to follow.
To help make it easier to follow along with the building of the layout, I have added a “Next Section” link to the end of each post that deals with the build. Simply click on that link to move onto the next post. You can follow these all the way to the most recent relevant post.
I have broken down the posts into the following categories, in order from the beginning to the most recent:
Well, eventually a layout room…
I have been away for the last several weeks, first with the NMRA Train Show in Philadelphia, and more recently with the new house in Burford. I have come home for a few days to catch up on some pressing CAD work, and wash the shorts….
We will be building a shop on the property, and in the mean time we are renovating a “wing” on the house to work out of for the next while. Once the new outbuilding is complete, this space will become a main floor layout room off of the dining room, which I am looking forward to!
Here is a shot of the space when we first looked at the house….
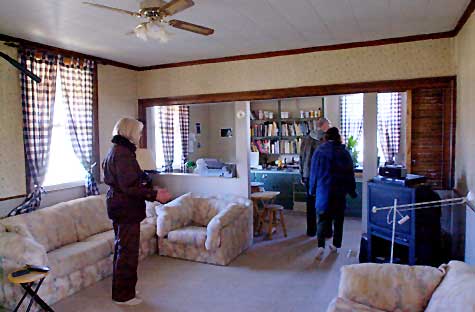
Image Copyright (c) 2006 Tim Warris
It will be a bit cramped for a while, but we are used to that. The payoff will be worth it though….
A few weeks back we got started on the demo. Ron and Russ were out for an evening to “evaluate” the situation.
Here they are “evaluating”. Ron is the one holding up the shovel.
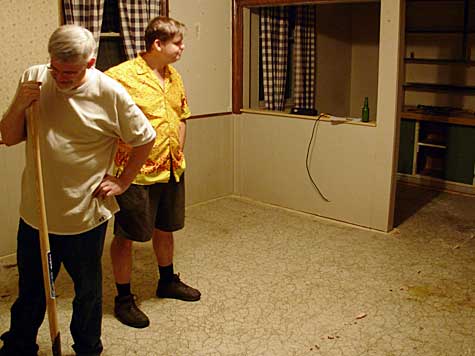
Image Copyright (c) 2006 Tim Warris
We pulled out the carpeting earlier, which was as much fun as a full rectal examination. 10 years of the dogs best were well absorbed in the fibres and the underpad. They are resting comfortably at the Biggars Lane landfill.
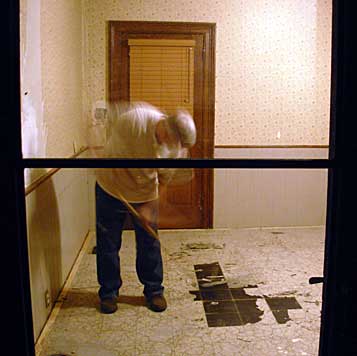
Image Copyright (c) 2006 Tim Warris
We scraped up a bit of the stylish floor tiles to see what lay beneath.
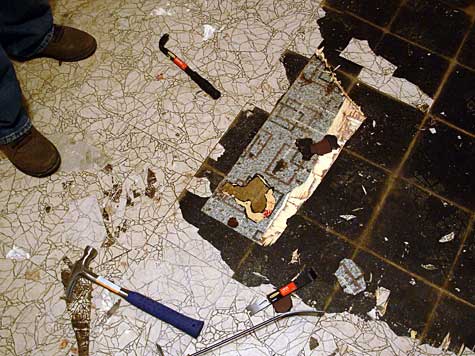
Image Copyright (c) 2006 Tim Warris
What lay beneath was 6 layers of flooring before we struck bottom. It was interesting to see the various styles over the years. About one layer was added every 15 years or so.
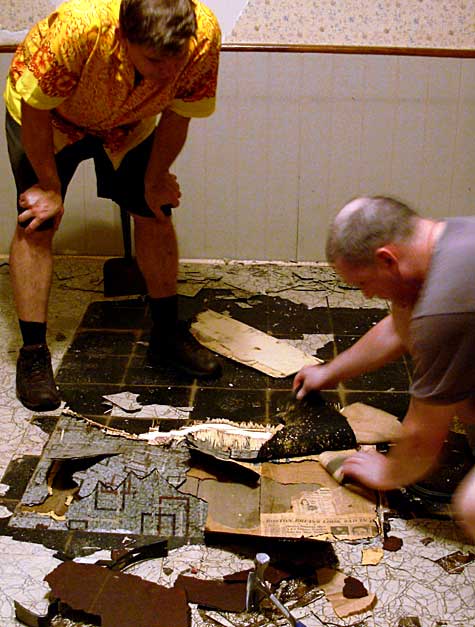
Image Copyright (c) 2006 Tim Warris
Buried deep in the floor layers was some old newspapers. These provided some interesting reading, and a welcome delay in the inevitable labour of floor removage.
Click on the picture for a larger version…
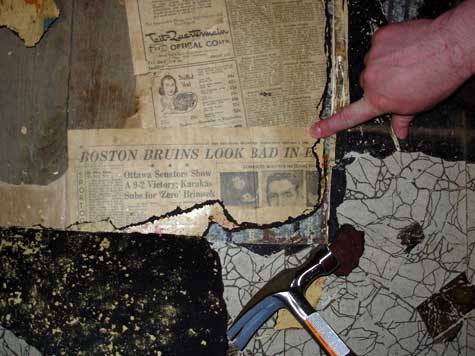
Image Copyright (c) 2006 Tim Warris
The date on the paper is January 7, 1948.
Click on the picture for a larger version…
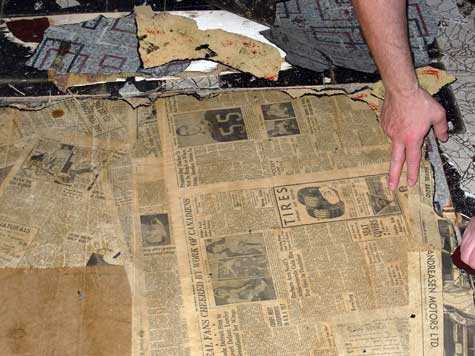
Image Copyright (c) 2006 Tim Warris
There was quite a collection of these. We saved what we could.
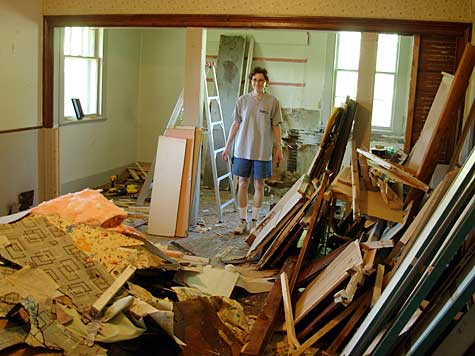
Image Copyright (c) 2006 Tim Warris
With the exploration out of the way the demolition of the floor began in earnest. The next day Ron and I sweated it out and pulled up all the old flooring. To call this work is an understatement. There were at least 117,000 nails in this floor, and the pry bars hit each and every one of them!
This old flooring is resting with the carpeting at the Biggars Lane landfill.

Image Copyright (c) 2006 Tim Warris
Jumping ahead a week, and 20,000 calories, the room is emptied of its various walls, cabinets and flooring scrap. Removing the old cabinets was quite a task. These were fastened with every conceivable type of fastener produced. I could date the renos (or attempts at renos) by the types of fasteners I found. Screws meant a more recent addition. When I finally got down to square nails I knew I was almost at the bottom of the task. The old cabinets and ceiling are resting with the floors and the carpets at the Biggars Lane landfill.
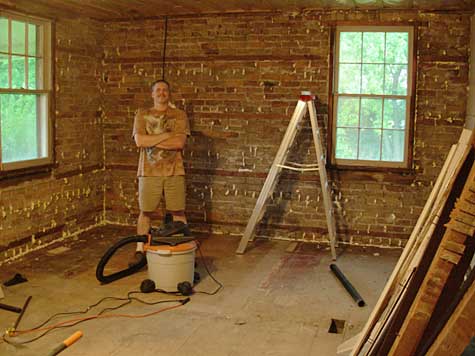
Image Copyright (c) 2006 Tim Warris
Might as well….
“Might as well” has cost more people more money over the years. Since I was in the middle of this simple upgrade, I “might as well” do something with the nice pine plank flooring that was found under all those layers of flooring.
We debated on what to do with the floor. Initially we figured we would simply cover it up with some sheathing until the shop was complete and I would fix it up then. Not wanting to waste money on all that sheathing, that would just have to be pulled up, and we had had enough of that nonsense, we thought about simply painting it.
I really didn’t want to do that, as it would only have to be removed later. So we decided we “might as well” refinish it now.
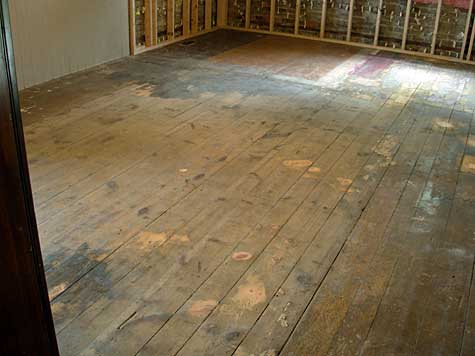
Image Copyright (c) 2006 Tim Warris
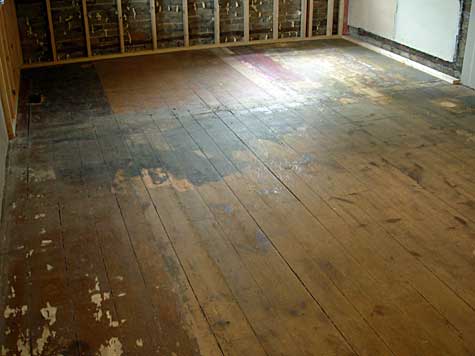
Image Copyright (c) 2006 Tim Warris
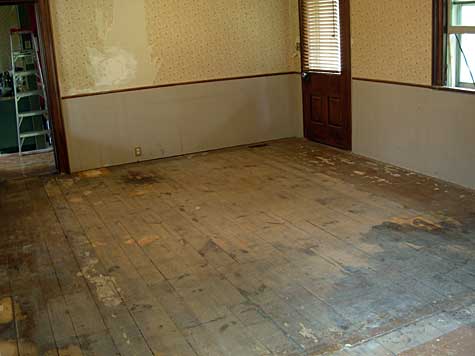
Image Copyright (c) 2006 Tim Warris
Calling the flooring that we found “nice” was a bit of an optimistic statement. There was quite a combination of interesting finishes. Some of completely unfinished wood floor, covered in several decades of dirt, various sections of painted floor, some with only a single coat of paint, others with dozens of coats of paint, a few “mystery materials” that resembled asbestos, some large black oil stains and a few holes.
Some of the areas were so worn from foot traffic that almost half of the wood plank was worn away. We might have to replace these sections.
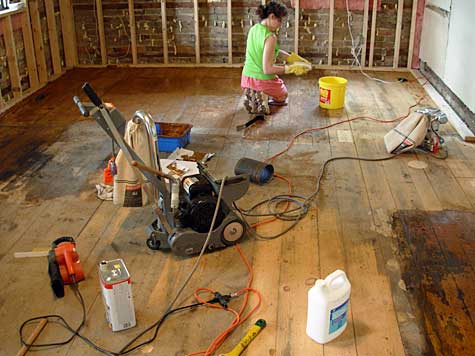
Image Copyright (c) 2006 Tim Warris
We rented all the necessary torture devices that Home Depot has to offer for floor refinishing. A few passes over the painted sections and it quickly became obvious that paint can not be sanded from a floor. It instantly clogs up the $10 sanding drums that the kind man at Home Depot so thoughtfully gave us 60 of. I now see why he did that…
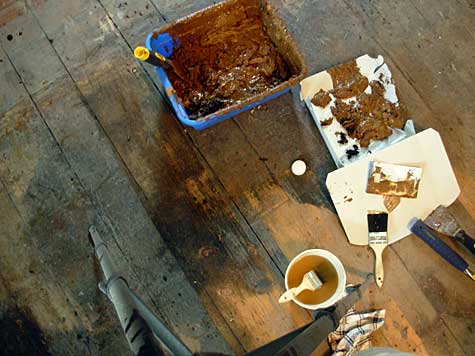
Image Copyright (c) 2006 Tim Warris
We decided to get some paint stripper and remove the paint first, and then sand the floor. This took and additional day, but was worth it as it did make sanding the floors much easier. The bucket contains a collection of floor paintings from the last 100 years.
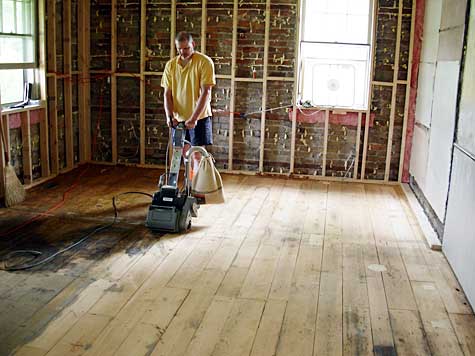
Image Copyright (c) 2006 Tim Warris
With the floor goop off, I could begin sanding in earnest.
I sanded….
Image Copyright (c) 2006 Tim Warris
and sanded….
Image Copyright (c) 2006 Tim Warris
and sanded…
Image Copyright (c) 2006 Tim Warris
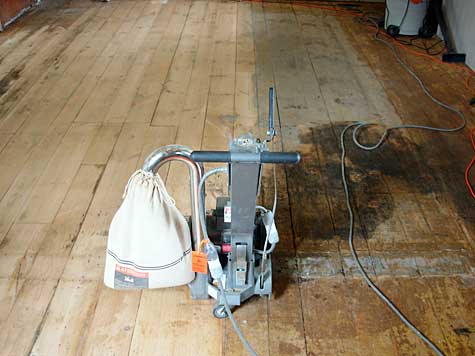
Image Copyright (c) 2006 Tim Warris
The difference between the original floor and the sanded floor was quite dramatic. We were starting to realize that the effort might just be worth it.
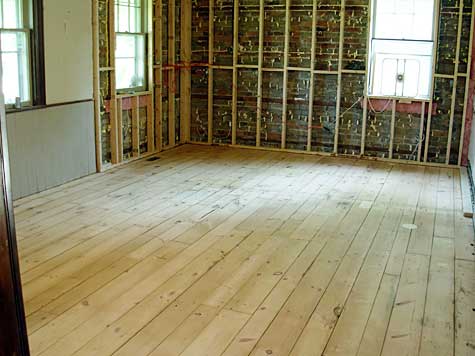
Image Copyright (c) 2006 Tim Warris
After two days of sanding, the floor was stipped, and ready for surfacing.
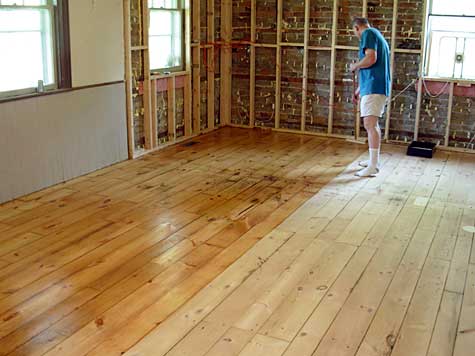
Image Copyright (c) 2006 Tim Warris
The finish on the floor is applied by wiping it on with a broom like tool. Its a pretty easy process and went quick. The drying time between coats was about 2-3 hours. A quick sanding and another coat was ready to be applied.
We put 5 coats on in total.
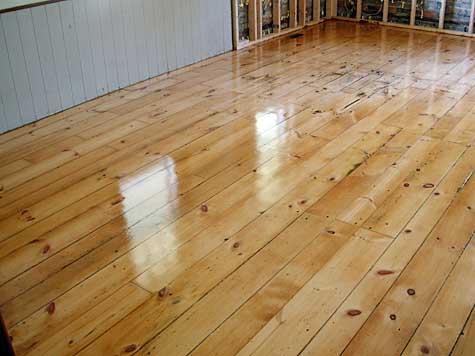
Image Copyright (c) 2006 Tim Warris
The results were stunning. Its difficult to show in a little picture, but the difference from the original floor to the refinished version is very dramatic. Much work, but worth it.
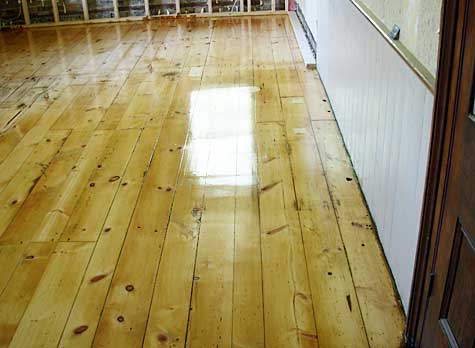
Image Copyright (c) 2006 Tim Warris
Here is a “Before and After” compliation…
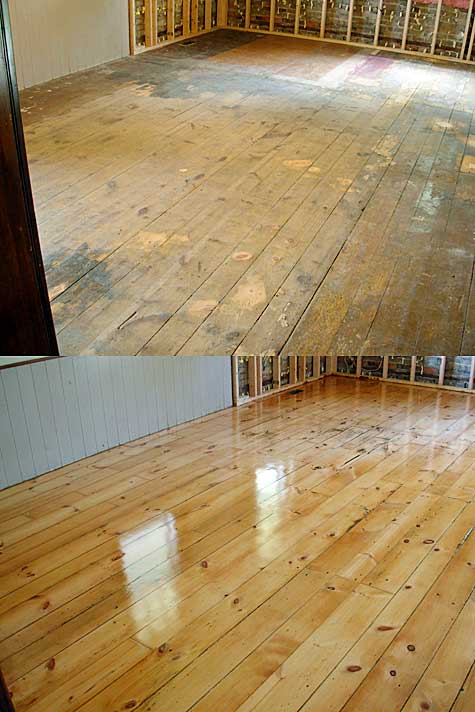
Image Copyright (c) 2006 Tim Warris
Fortunately we were blessed with the hottest and muggiest weather we have ever had here, and that made the entire job that much more “sliming”.
Starting this weekend we will get back to the completion of the room. Hopefully we will be ready to move in the next couple of weeks.
-Tim
Burford property
Click on the picture for a larger version…
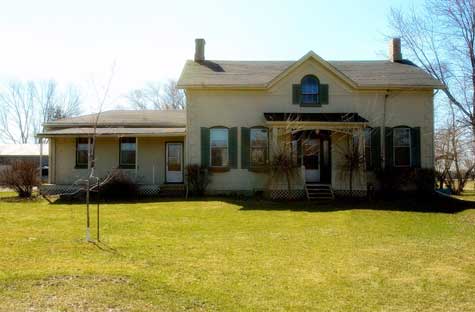
Image Copyright (c) 2006 Tim Warris
For those who have been asking more about the new location for the Port Kelsey, here is a shot of the front of the house. The “layout room” is actually the wing on the left side of the house, which the current owner refers to as a “summer kitchen”. This room is about 16×26, and is original to the house which should suit a layout quite nicely.
Initially, this will be the temporary location of Fast Tracks, while the shop at the back of the house is prepared. Should make for an interesting couple of months….
-Tim